We’ve been busy digging up some cultivator and plough modifications that have been churned out of farm workshops. Have a nose and see if you’re inspired.
Cultivators fall into the easy-to- modify camp, with many owners looking to make adjustments simpler or have better depth control. Then there is the old favourite of combining two machines to get more work done in one pass and make the most of increasing on-farm horsepower.
If you’ve done similar modifications and would like to share, then please email us at profi — profi.ed@kelsey.co.uk — and we will hopefully get to use your contribution.
Alexander Bertling
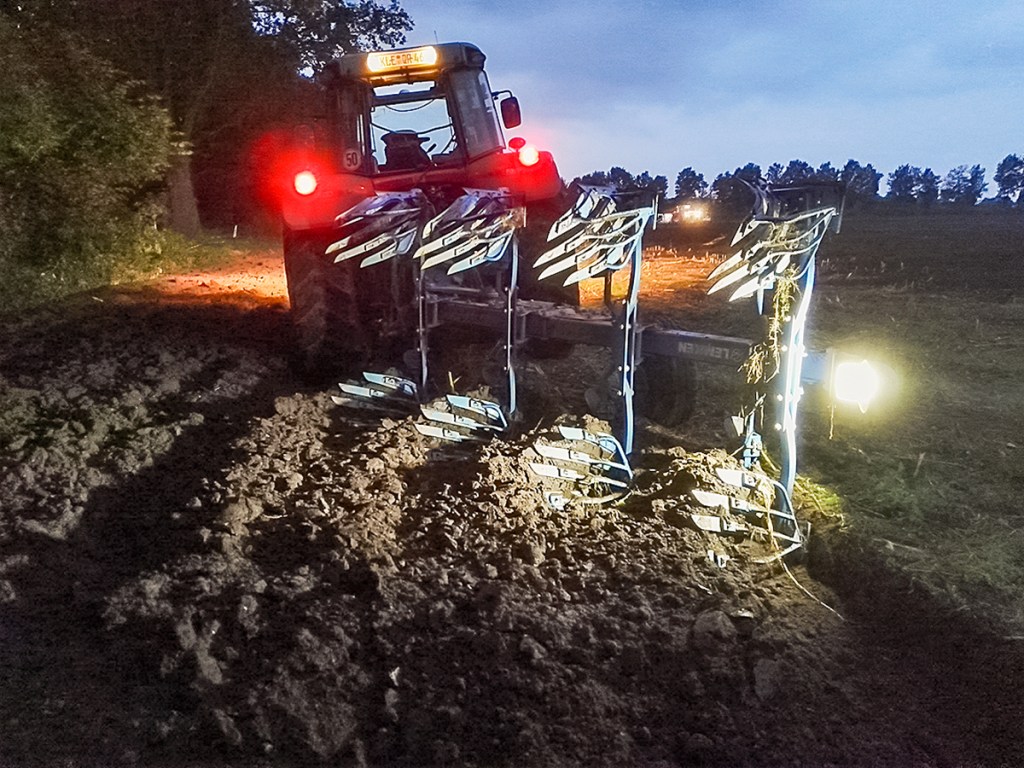
SPOTLIGHT IN A CUP
This reader installed an LED work light to the rear end of his four-furrow plough. To protect the light from getting clunked with soil, he mounted it in a scrap water drinker made from cast iron. The light shines at a right angle, illuminating the ploughing to help ensure it matches up and to also show the back furrow. Another advantage is that he can leave the tractor’s rear headlights switched off, which means no more insects buzzing around the cab.
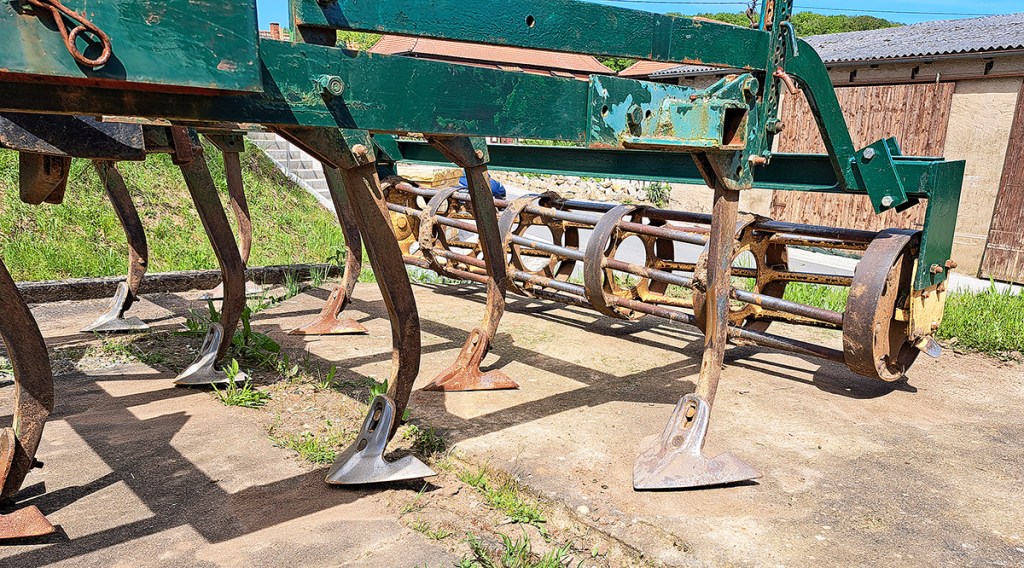
HOMEMADE FRONT CULTIVATOR
The basis of this DIY front cultivator is an old spring tine cultivator, which was extended to a working width of 3.0 metres. To do this, our reader built a frame that connects the tine section with a cage roller sourced from another cultivator. The roller is not only used for crumbling the worked soil but also looks after depth control in combination with the gauge wheels on the front. The massive 45 by 12mm spring tines have duckfoot points for very shallow, full-width work. Any weeds or volunteers are effectively cut off ahead of the drill. The three rows of tines were critical to providing the necessary inter-row clearance for the organic material to pass through without causing blockages.

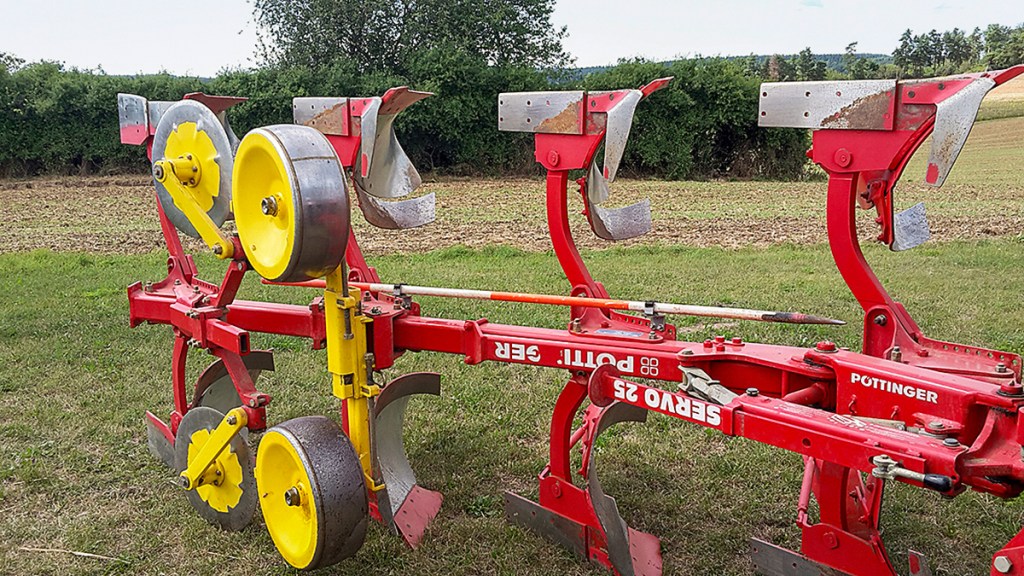
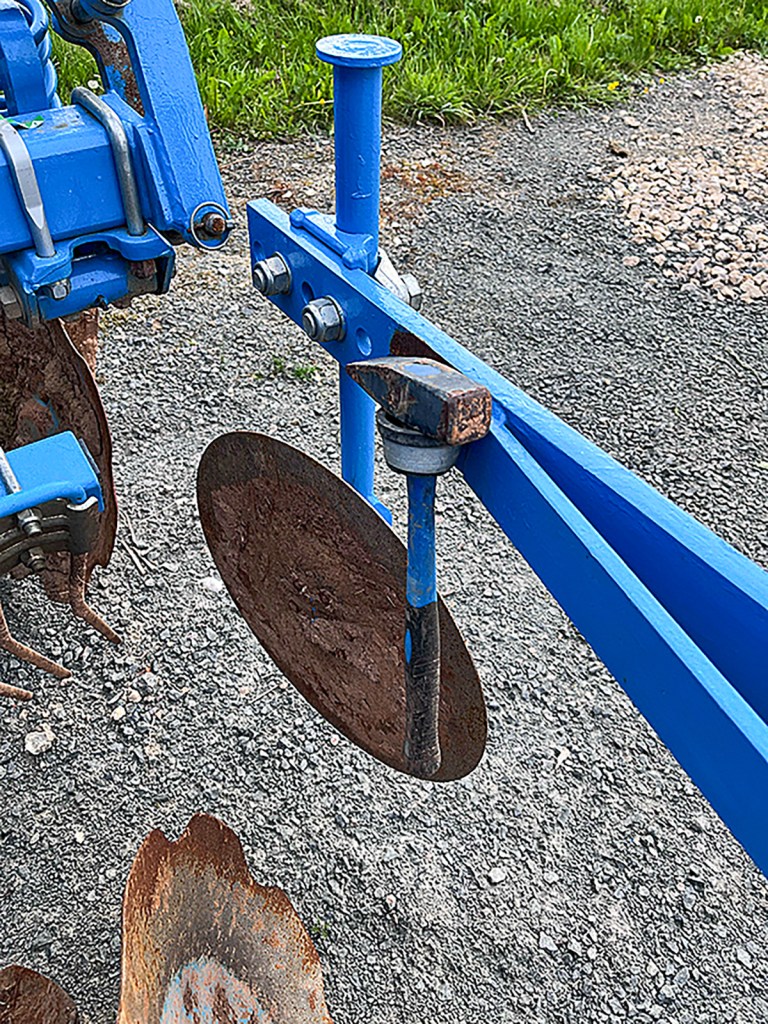
RANGING STICK ON BOARD
This ploughman relies on a ranging stick as a visual aid — when ploughing the first furrow along a field boundary, for example. The idea was to carry the stick on the implement rather than storing it inside the cab. To do this, he attached two broom stick holders to steel bars which he bolted to the beams using existing holes.
ROBUST TRACK ERADICATORS
This harrow is almost exclusively used for preparing maize seedbeds in the spring. To minimise wheel ruts, the owner fitted height-adjustable track eradicator tines to his Becker harrow by clamping them to the frame with U-bolts.
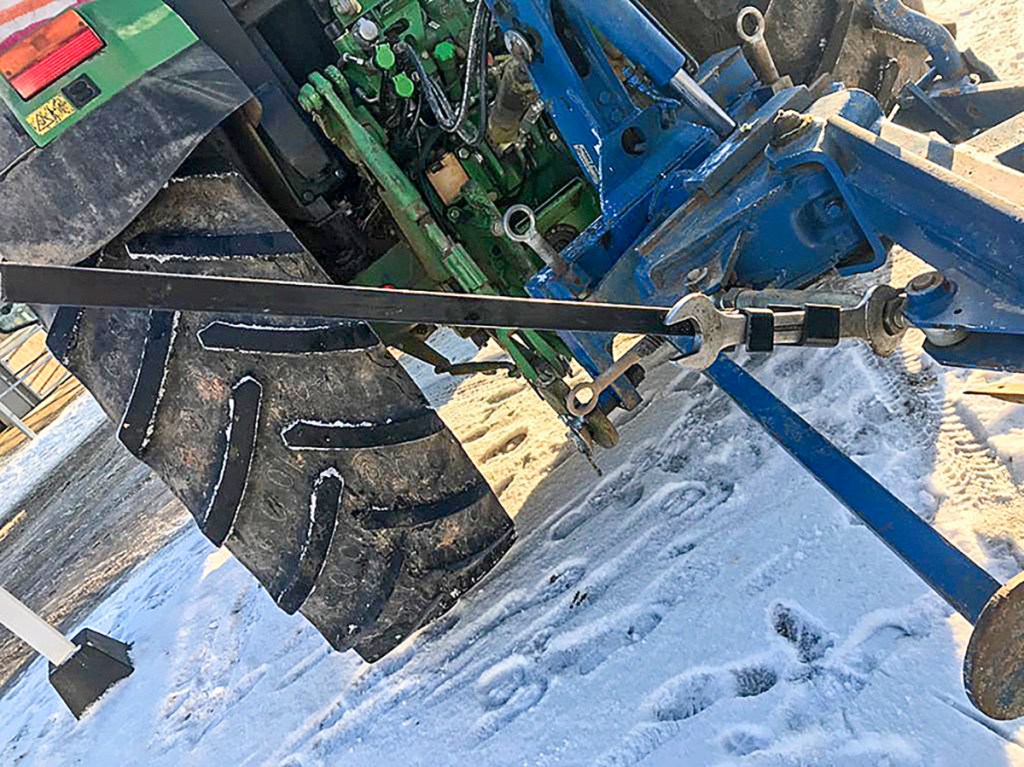
SPANNER EXTENSION FOR SET-UP WORK
This reader made an extension for the plough spanner that he used for making adjustments. He took an end of box section steel of about 80cm in length, at the end of which he welded two pieces of channel steel that point in opposite directions so they lock either side of the wrench. This extension makes it easier to open the turnbuckles after they haven’t been shifted for a long time.
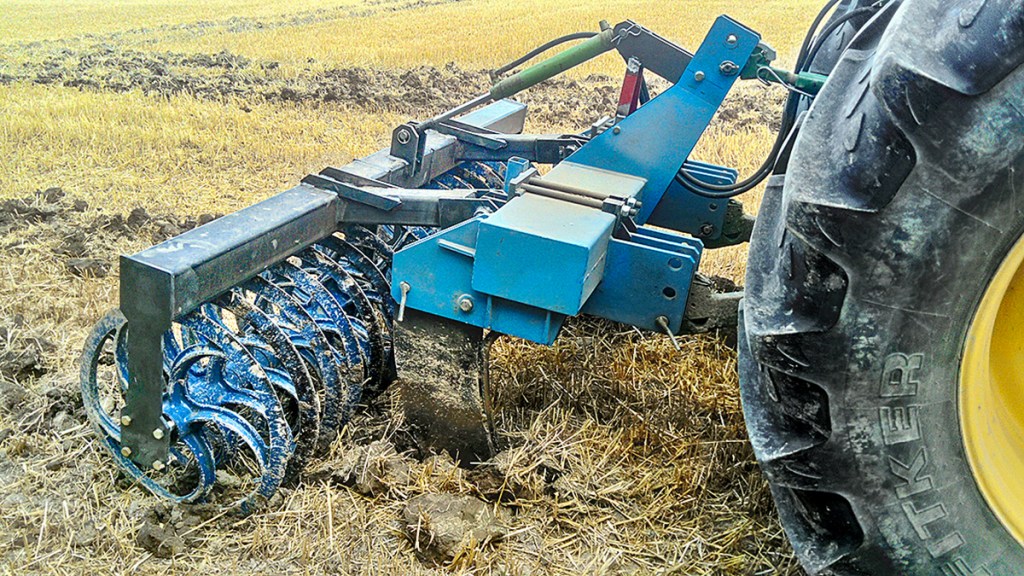
PRESS ON SUBSOILER
This subsoiler for breaking up ruts is a Saphir machine. Its owner added a ring press to it after he found it was bringing up large clods. A hydraulic ram between the subsoiler headstock and press can be used to help control the working depth and amount of pressure placed on the consolidating rings.
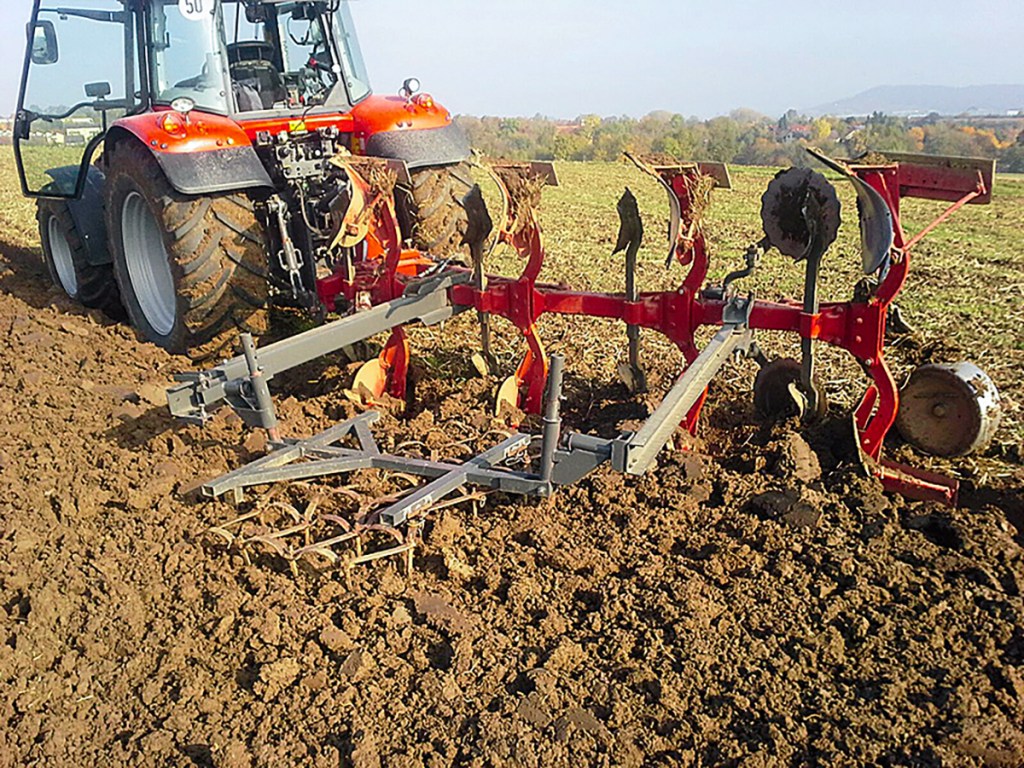
PLOUGH AND HARROW
This reader used two 120mm wide pieces of channel steel as supports for the harrow alongside his plough. The front beam benefits from some extra supports. The beams are attached by brackets that are clamped to the plough’s main beam. The harrow swings to the rear for road travel, a job done with a hydraulic ram. Because the harrow is able to pivot, it can follow the plough as this turns over. A stop prevents the tine section from bouncing during work. Spindles are in place for depth adjustment, and it can move upwards to ride over a stone.
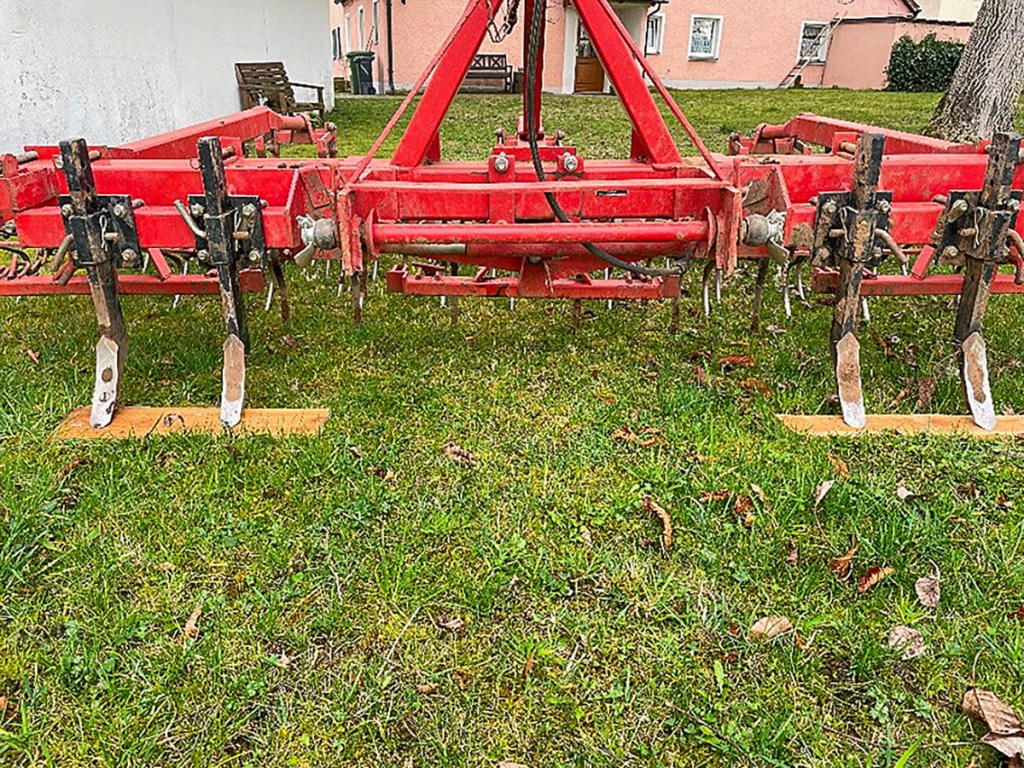
ROBUST SUPPORT WHEELS
To improve cultivator depth control, the reader fitted wheels from a scrapped vehicle. The wheels were mounted to the cultivator frame using box section tubes, with height adjustment kept equally simple by refitting a pin in one of several holes. Other modifications are the retrofitted concave discs from a scrapped beet hoe, which prevent ridges being left at the sides.

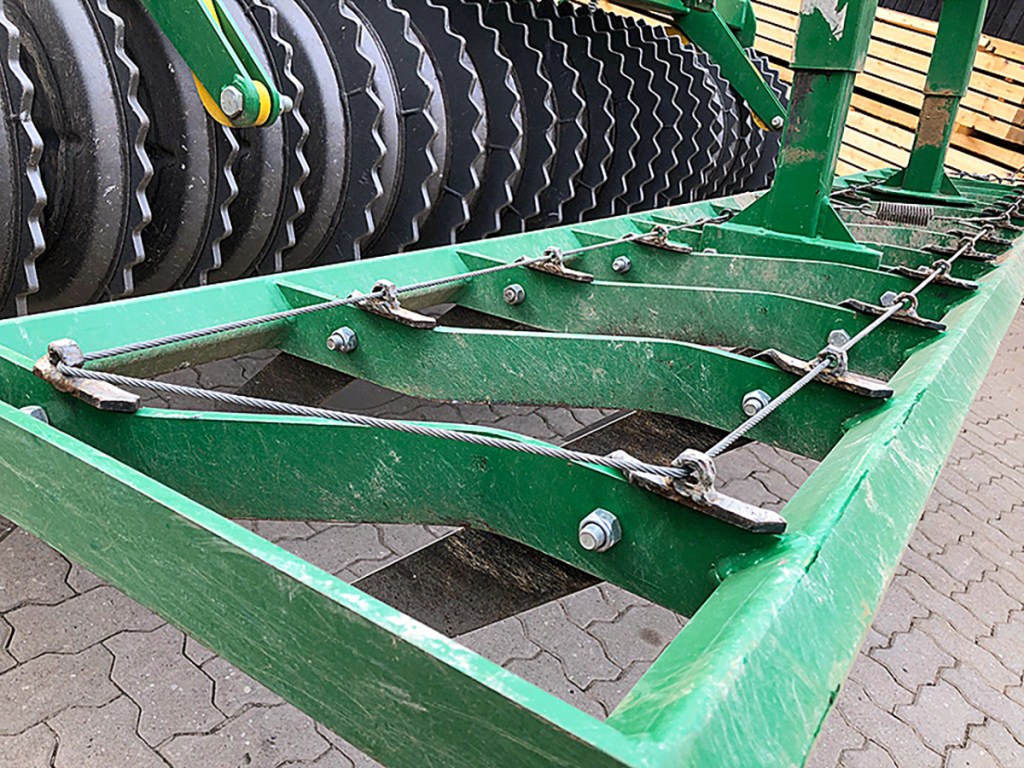
PROTECTING TINES FROM GETTING LOST
This reader retrofitted a loss protection system for the harrow tines on his cultivator after the shear pins repeatedly snapped off and the tines were lost. He welded an M12 nut to the top end of each individual tine and pulled an 8mm wire rope through it. He then tensioned the wire rope with a spring. When a tine shears off now, it hangs loosely on the rope and can be reattached with a suitable shear pin.
BETTER DEPTH CONTROL WITH ROLLER
To improve the depth control of his tine cultivator in clover grass and lucerne, this reader welded six 80mm by 8mm flat iron rings around the 400mm crumbler roller to stop it sinking in as much. The organic farmer also removed one bar from each section to prevent the roller from clogging. So far, he has been very satisfied with the results.
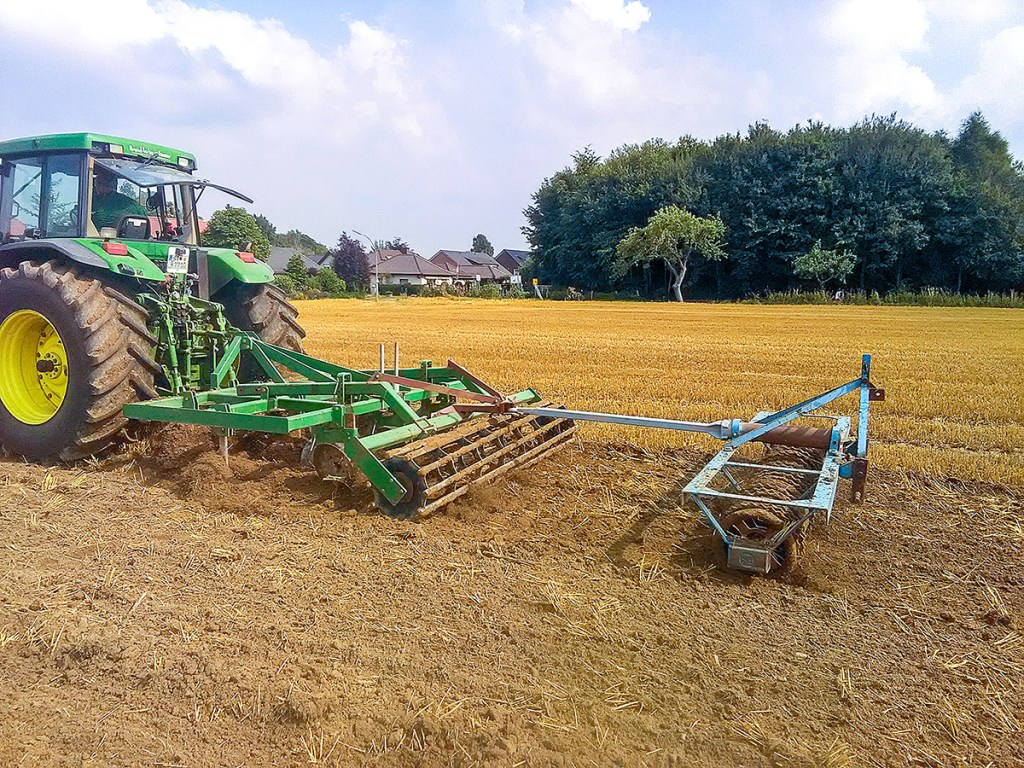
HITCH ON AND ROLL
This reader fitted a trailer hitch to the frame of his cage roller at the rear of his two-row cultivator. This allows him to run a trailed Cambridge roller for extra firming, producing a better seedbed on light soils. In addition to a strut that supports the clevis, he reinforced the attachment points of the trailing roller with small iron plates that absorb the additional force. The long drawbar is important for smooth headland turns.
TUNED KNIFE ROLLER
Four years ago, Benedikt Könning bought a front-mounted knife roller from Agromasz. Testing the demonstrator prior to the purchase, he noticed that the machine was throwing up a lot of mud and small stones — some of them right towards the windscreen and onto the bonnet. Consequently, he constructed two sturdy mud flaps from thick rubber along with frames from sheet metal with turned edges. These were fitted to the machine before it was ever worked. The metal edges are turned in such a way that the rubber flaps are offset to the rear to prevent blockages. Benedikt now offers these guards as retrofit kits.
As he was on the job, he also made two warning panels complete with sturdy holders, because he wasn’t convinced by the manufacturer’s solution. The green weights, too, are ‘homemade’ to save costs. They are made from box sections that were filled with punched scrap metal and add 500kg of weight to the machine.

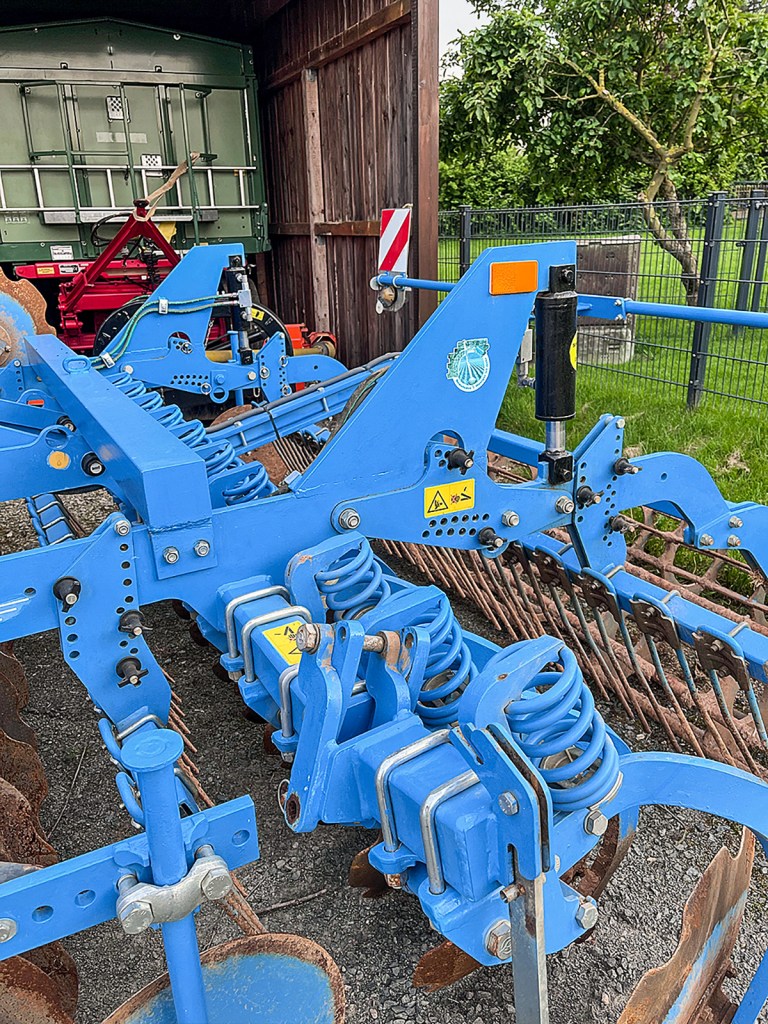
HYDRAULIC DEPTH ADJUSTMENT
To alter the working depth of his Lemken Rubin 9 disc harrow (built in 2014) from the tractor seat, Erik Peiner retrofitted hydraulic depth control. To do this, he welded a bar to each arm of the trailing press, which acts as the attachment point for the massive hydraulic cylinders. The piston rod end was mounted on the roller frame. In addition, he retrofitted a small holder for a hammer to the arm of the outer disc on the left-hand side. The hammer is now at hand to knock off the mud from the discs before the harrow takes to the road.
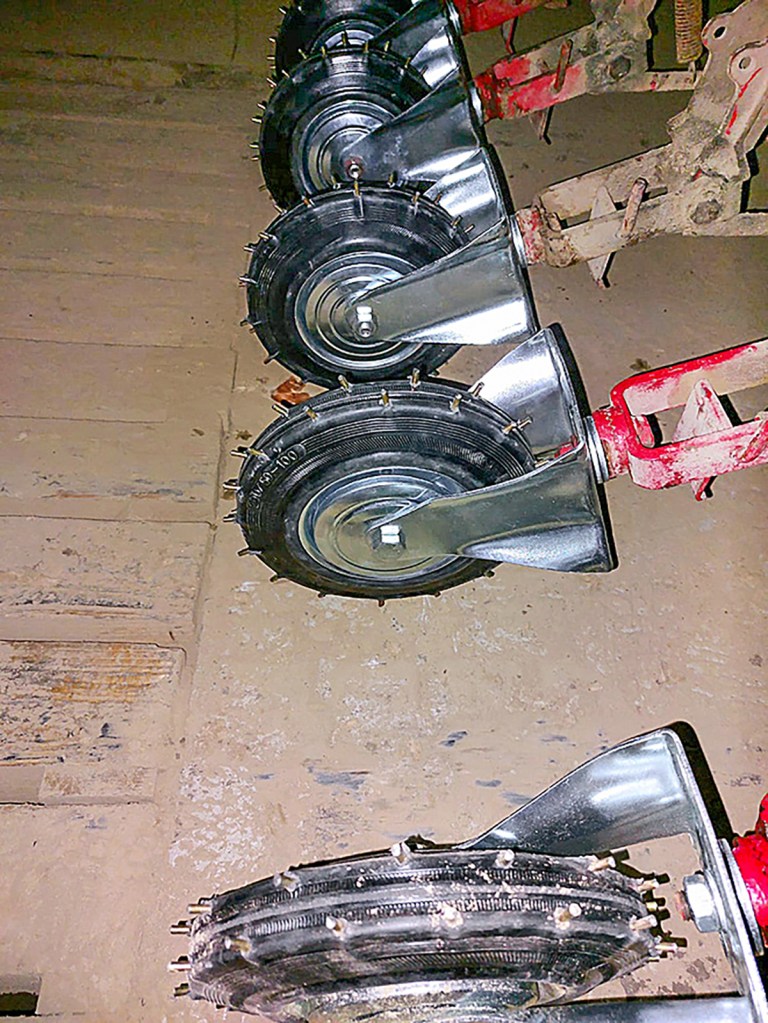
CRUST BREAKER
Torrential rain washed away the seedbed, causing the topsoil to harden. To make it easier for the young bulb plants to emerge, Andreas Baumgartner fitted the simple solid rubber wheels to his hoe. He put screws into the rubber and then cut off the excess so they acted like studs. These break up the crusted top surface, enabling the weak onion plants to grow into the light.
For more up-to-date farming news click here and subscribe now to profi and save.