Milling, welding, planning and grinding – these are the processes Roland Bräutigam uses to repair fuel tanks and the likes from tractors and other kit. We peeked over his shoulder to see what we could learn.
KEEPING IT BRIEF
- Repairs can be carried out on site or back in the workshop.
- If repaired on site, then it may not be necessary to remove the tank.
- The tank has to be empty; additional flushing will only be necessary in a
few cases.
Fuel tanks are exposed to lots of hazards – a protruding branch on the headland, a flying stone or flail… all can cause potential plastic piercing damage. Replacing a damaged tank can cost a significant wedge of cash making a possible repair all the more appealing. And it is sustainable, too.
Roland Bräutigam has been involved in the production and development of plastic components for more than 35 years and is well versed in the welding of thermoplastics. For several years now, he has been offering plastic tank repairs through his company Kunststoffwerkstatt24.de in Germany.
Which plastic?
Most of the tanks used on agricultural machines are made either by rotational moulding or injection moulding. With rotational moulding, the moulds are constantly rotated to evenly distribute the liquid plastic whereas with injection moulding the moulds are filled under pressure. Roto moulded tanks have a rougher surface whereas injection-is much smoother.
The type of moulding is of secondary importance for the repair, what is critical though is the type of plastic used. In principle, a specialist can weld all thermoplastic industrial plastics such as polyvinyl chloride (PVC), polypropylene (PP) or polyethylene (PE).
Most fuel tanks are made of PE
Fuel tanks are usually made of PE. This plastic is divided into different strength classes which depend on the length of the molecular chains, e.g. PE 80 (normal hardness) to PE 1000 (hard and wear-resistant). The more solid polyethylenes are classified as High Density (HD) polyethylenes. Only black PE-HD plastic is used for making vehicle tanks, because these offer better UV resistance.
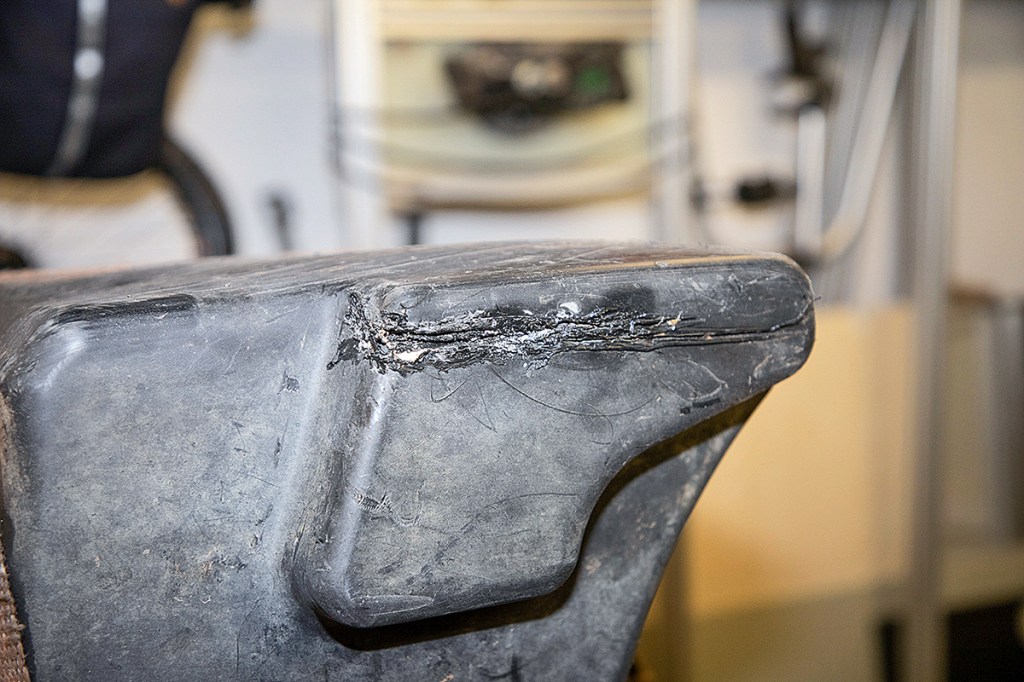
Stationary fuel and heating oil tanks as well as those not exposed to UV radiation are usually made of white natural PE, which can also be welded without any problems. Due to the wide variety of plastics, a short welding test is essential before embarking on a repair. For this, Roland typically uses a PE-HD 100 class filler rod. In the rare occurrence that the tank is made of cross-linked polyethylene (PE-X) then it cannot be repaired with traditional welding methods.
There are two techniques
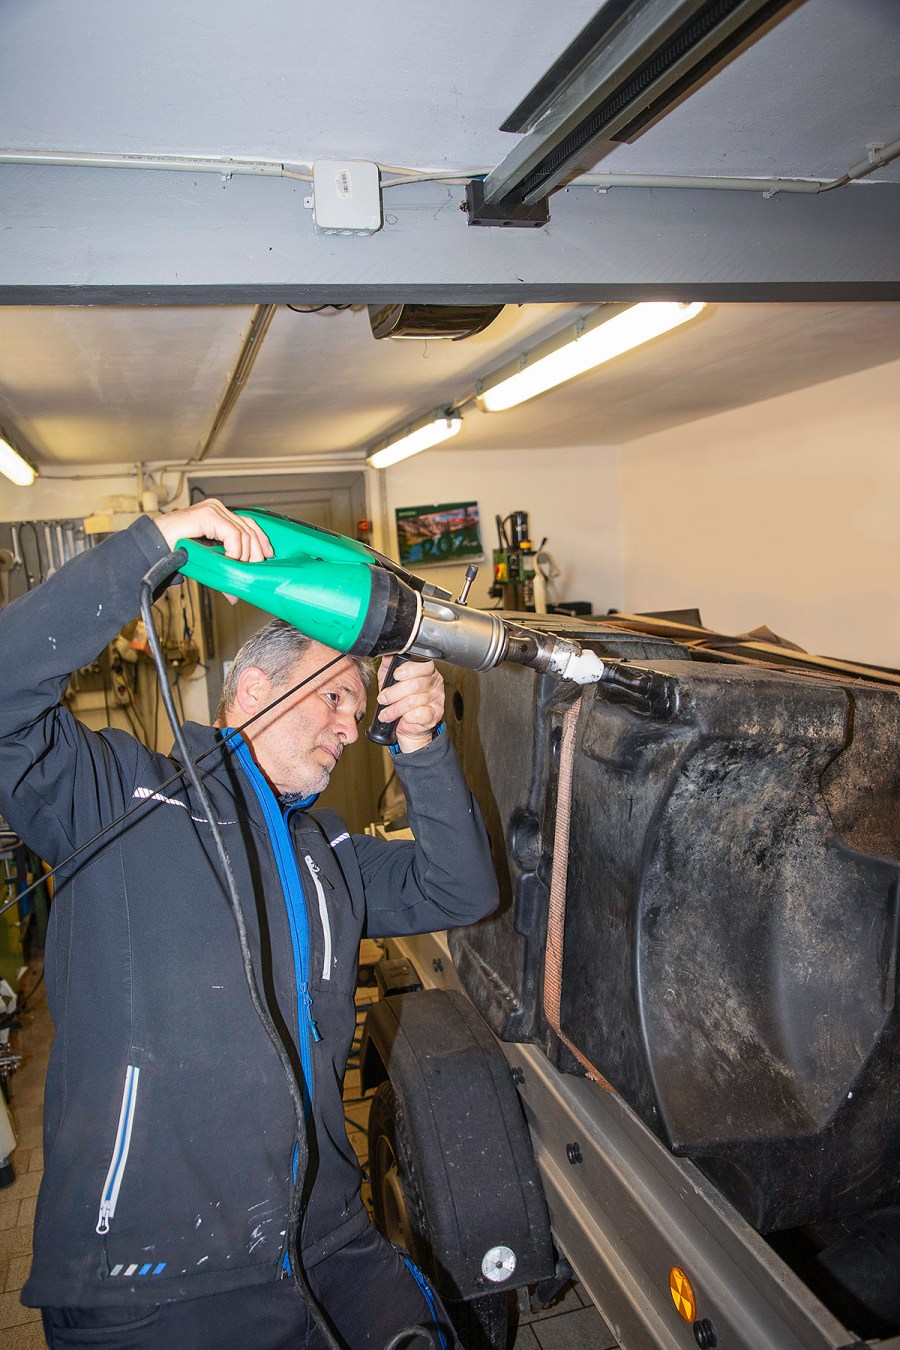
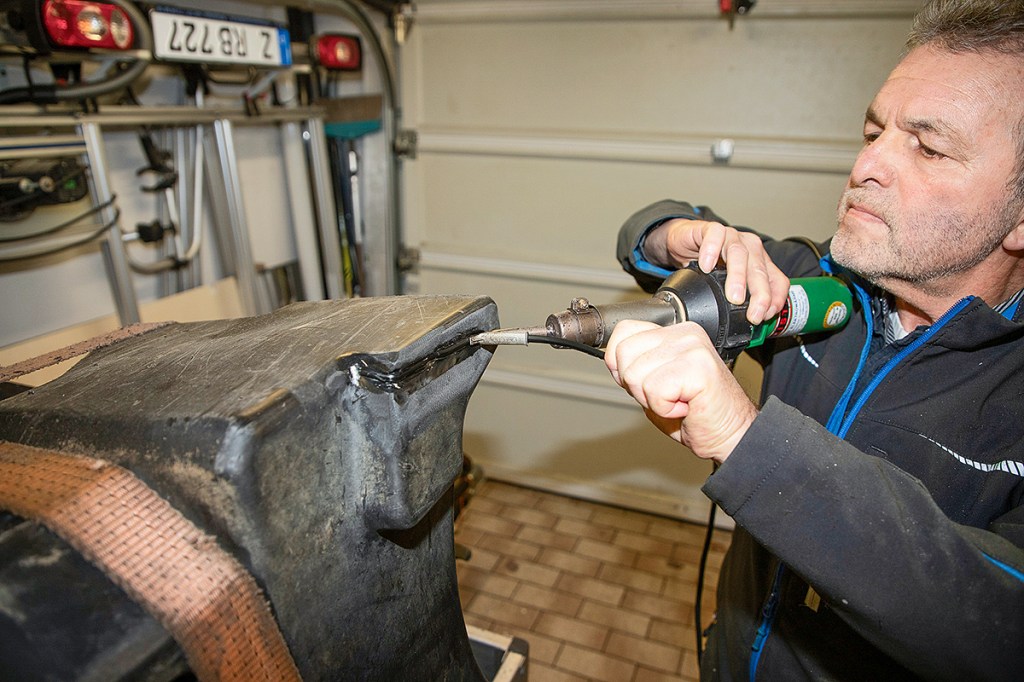
Roland applies two types welding techniques: hot-gas pull welding where the filler rod (which can be triangular, for example) is fed manually to the welding tip which ejects hot air (approx. 260°C) that melts the plastic rod and the surrounding material. He normally uses this for small welds.
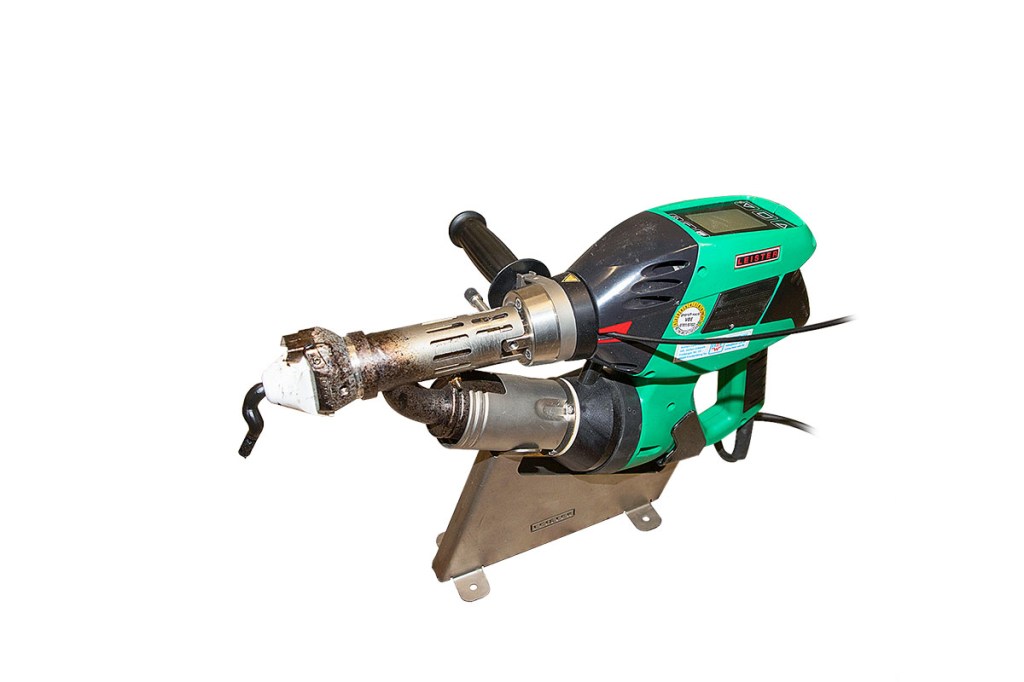
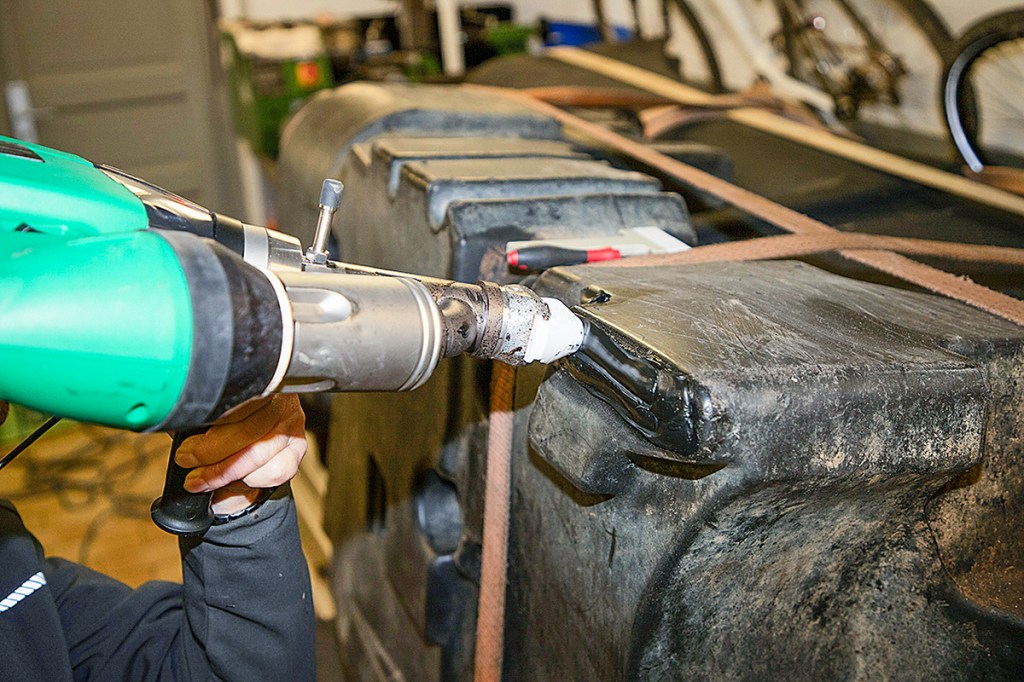
For bigger jobs, he opts for hot gas extrusion welding. The special welder produces a granulate from the welding filler, which is then melted and comes out of the nozzle under pressure. A preheating nozzle ensures the base material is melted. With this method you can apply more material than hot-gas pull welding. After the repair, the wall is twice as thick (depending on the size of the damage), which adds stability to the area. This process is also used for stationary industrial work such as such as pipes.
Significant savings
As mentioned, a new fuel tank is not cheap. When we visited Roland’s workshop, there were two fuel tanks waiting to be repaired – one from a Fendt 415 Vario (new price is around £2,500) and is featured in the step-by-step repair. The other is from a Case IH Axial Flow combine which would cost nearly £6,000 if purchased new.
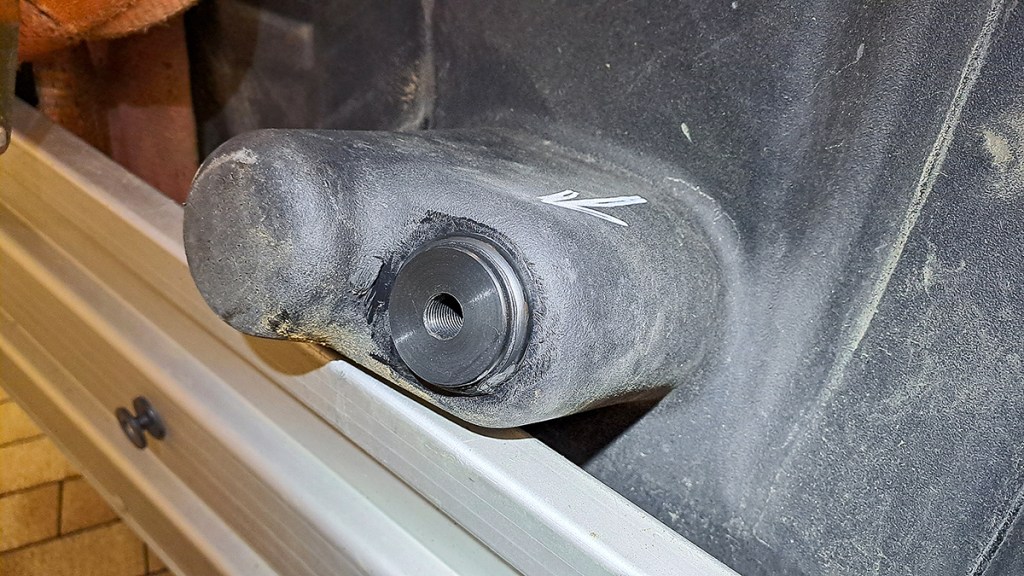
Roland charges €100 per hour plus travel time if the repair is carried out on site. If sent to his workshop, the repair should take two to three hours – a fraction of the purchase price.
Alexander Bertling
For more up-to-date farming news click here and subscribe now to profi and save.
HOW A FUEL TANK IS REPAIRED
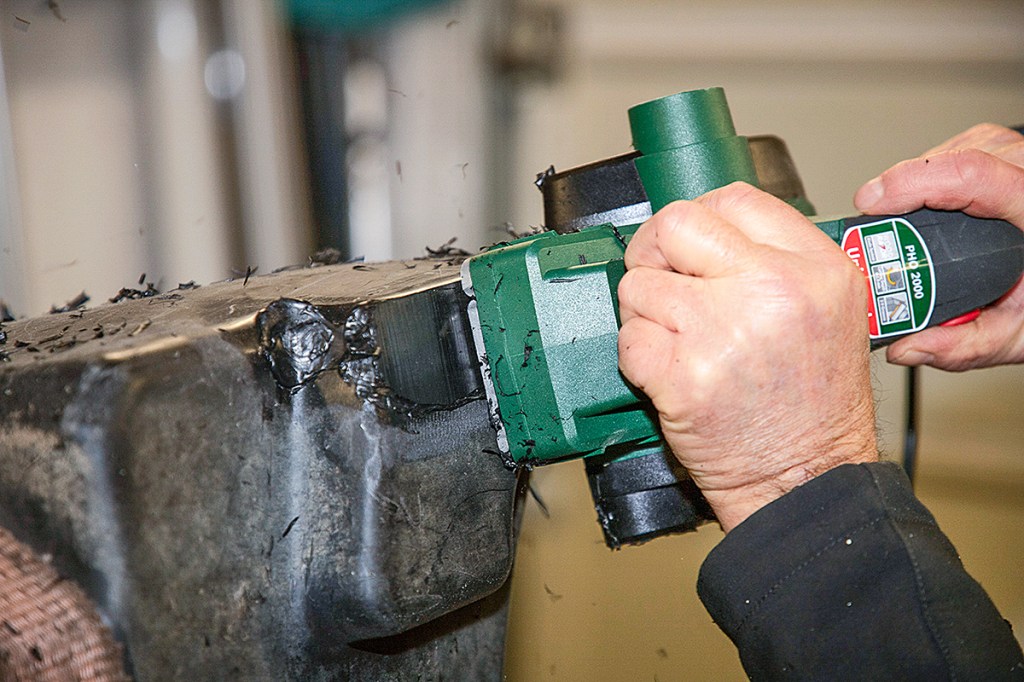
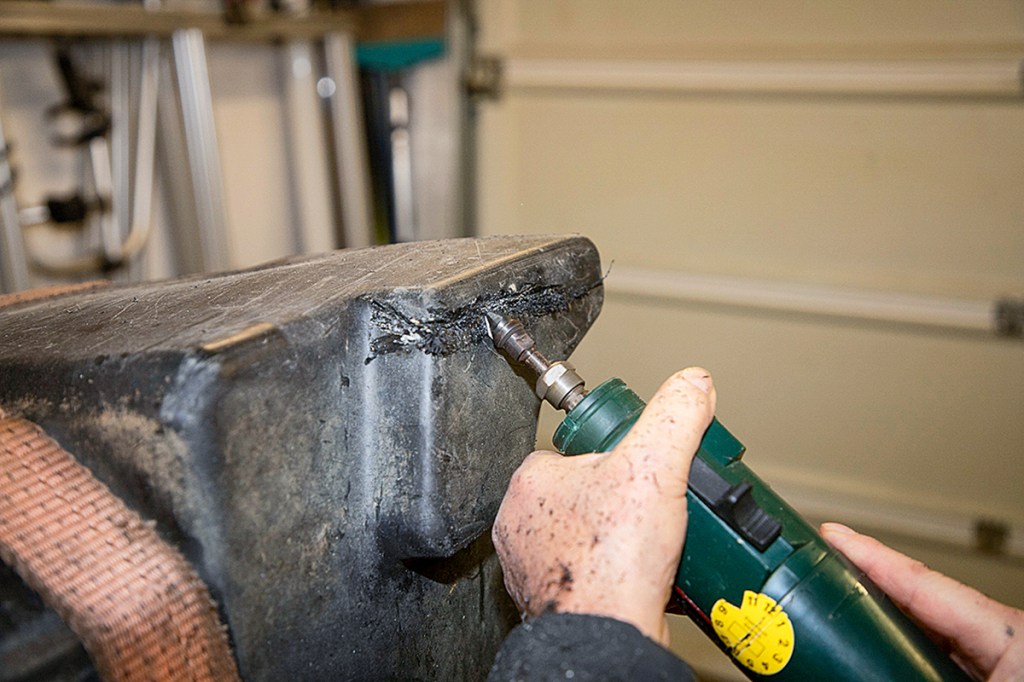
CLEAN THE CRACK
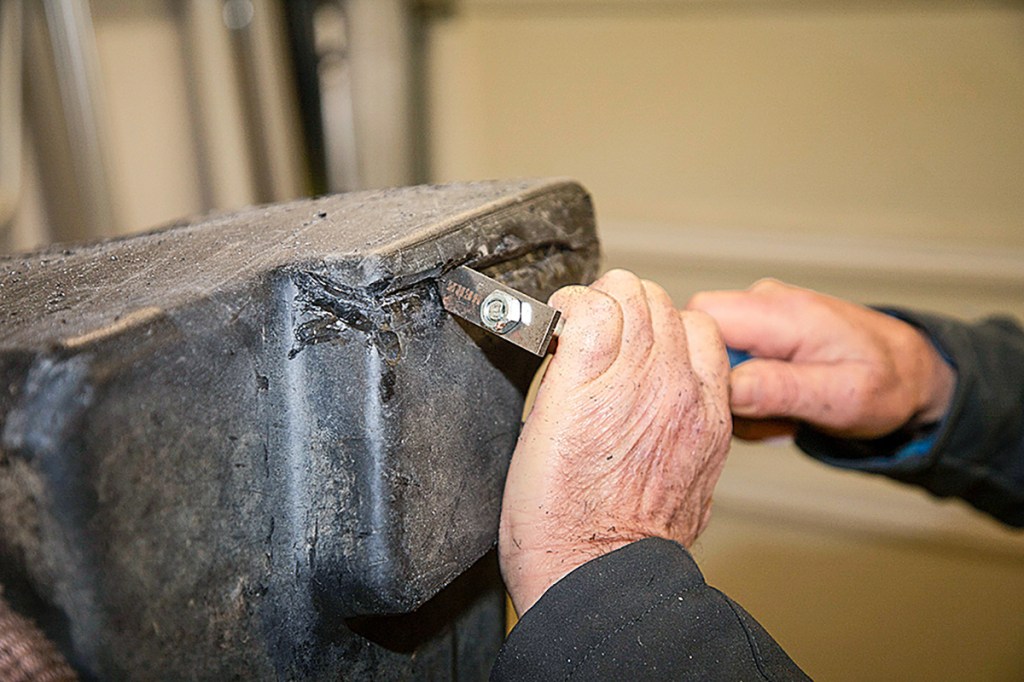
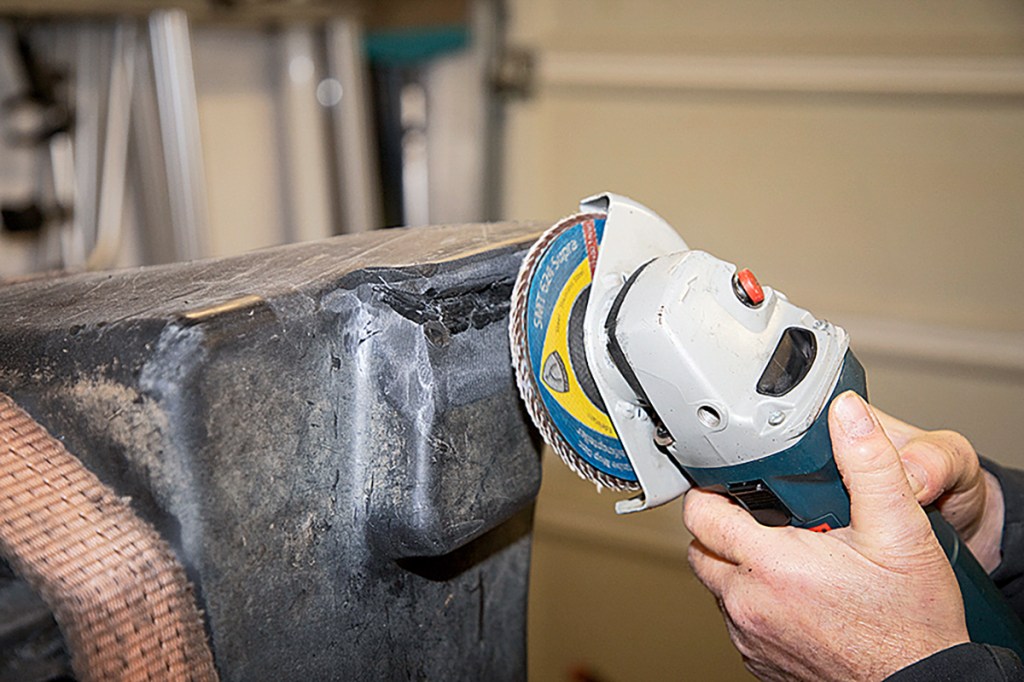
FILLING THE CRACK
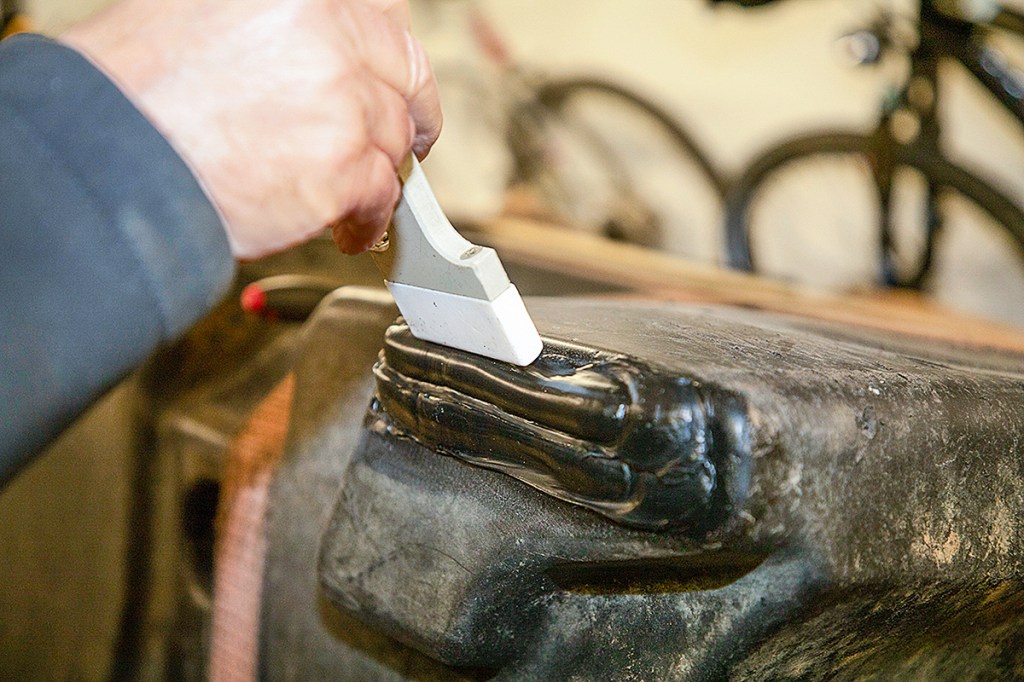
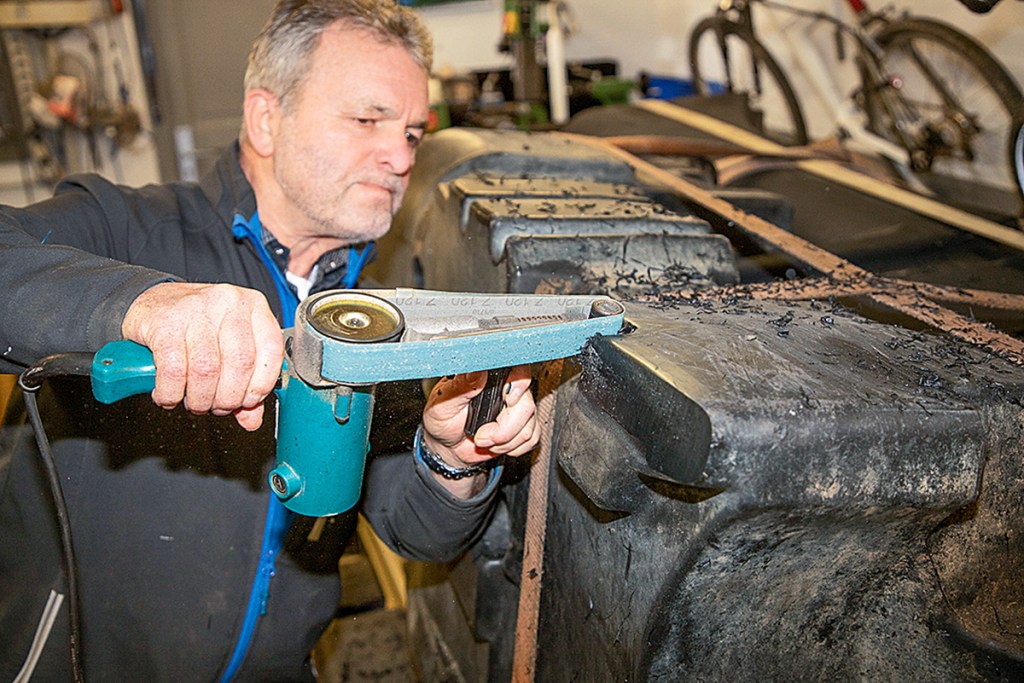
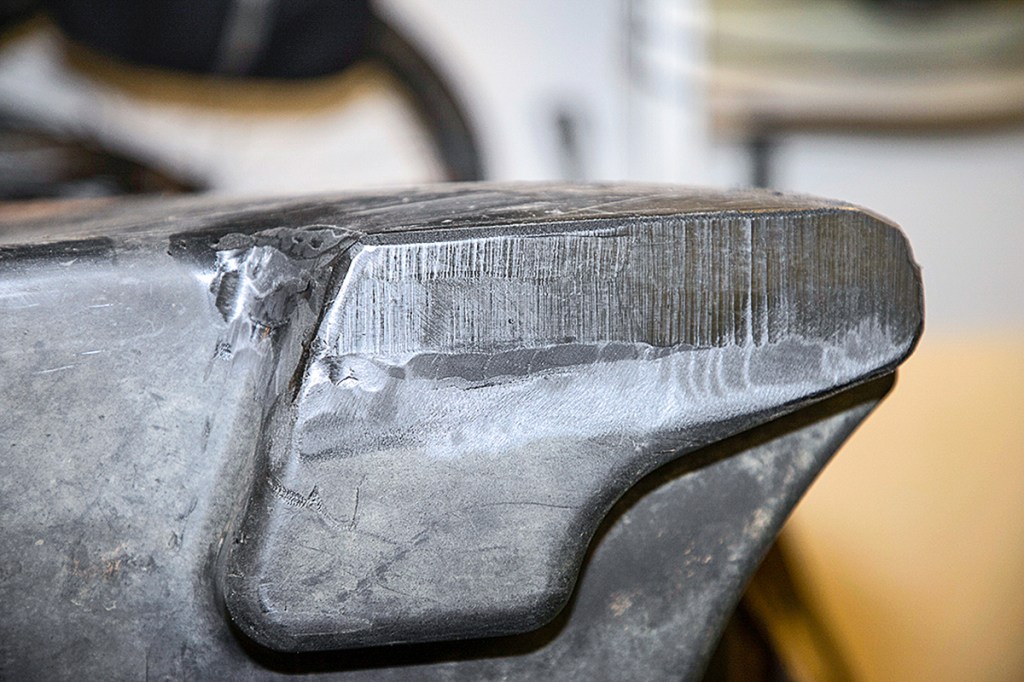
TIDYING UP
