In an ideal world all grass kit gets a thorough winter once-over. As front-runners in the silage game mowers deserve a decent amount of attention but rarely get it unless they’ve been playing up previously. Here’s our run through of how to quickly diagnose wear and tear and bits that can be easily repaired
Basically, there are two ways to view out-of-season mower maintenance and repairs: either to just simply keep the machine running safely and reliably or possibly to improve performance and cutting quality.
In order to be able to assess the scope of the repair and maintenance job, you should keep three factors in mind: the age, the general condition and the use of the disc mower. Is the mower a flagship machine in the fleet or is it only used occasionally? The answer could dictate whether it’s better to repair or consider investing in a well-maintained used machine or even in a new mower.
What is clear, though, is that regular attention pays off. This can significantly increase the service life of expensive wearing parts.
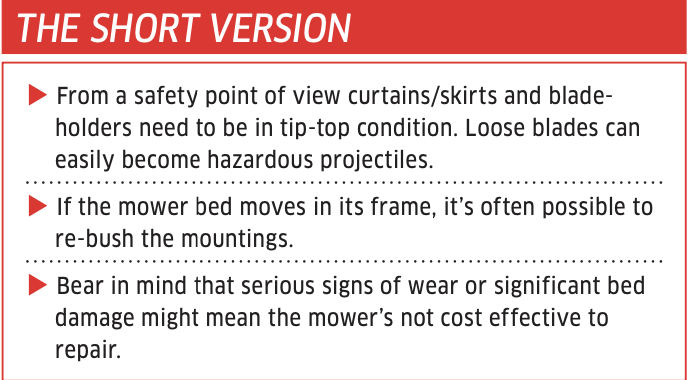
The mower bed
A distorted mower bed or support beam will affect the quality of cut and contouring. To check, place a straight-edge along its length to check for any irregularities. Whether it is possible to straighten the machine and whether it is worthwhile depends greatly on the general condition and age of the mower.
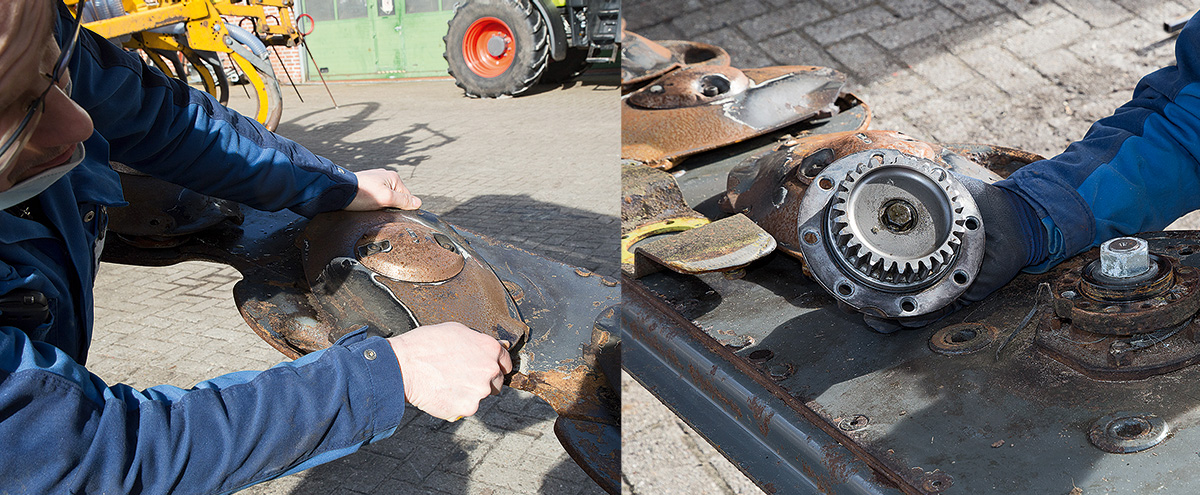
You can recognise a worn bed by applying the two-minute rule: Imagine there is a clock face arranged around one of the mower discs. As you move this disc, the other discs should also move along within a two- minute tolerance. If they don’t, it’s likely the drive gears are worn.
Also check whether the discs are aligned at a 90°. angle to each other. If this is not the case, one of gears may have slipped or the disc has been incorrectly installed. Often if it’s just individual gears that are worn then they’ll be worth replacing. However, if there are heavy signs of wear on all the pinion gears, (commonly due to the mower being run with low oil levels in the trough), a repair won’t usually pay.
Checking for leaks
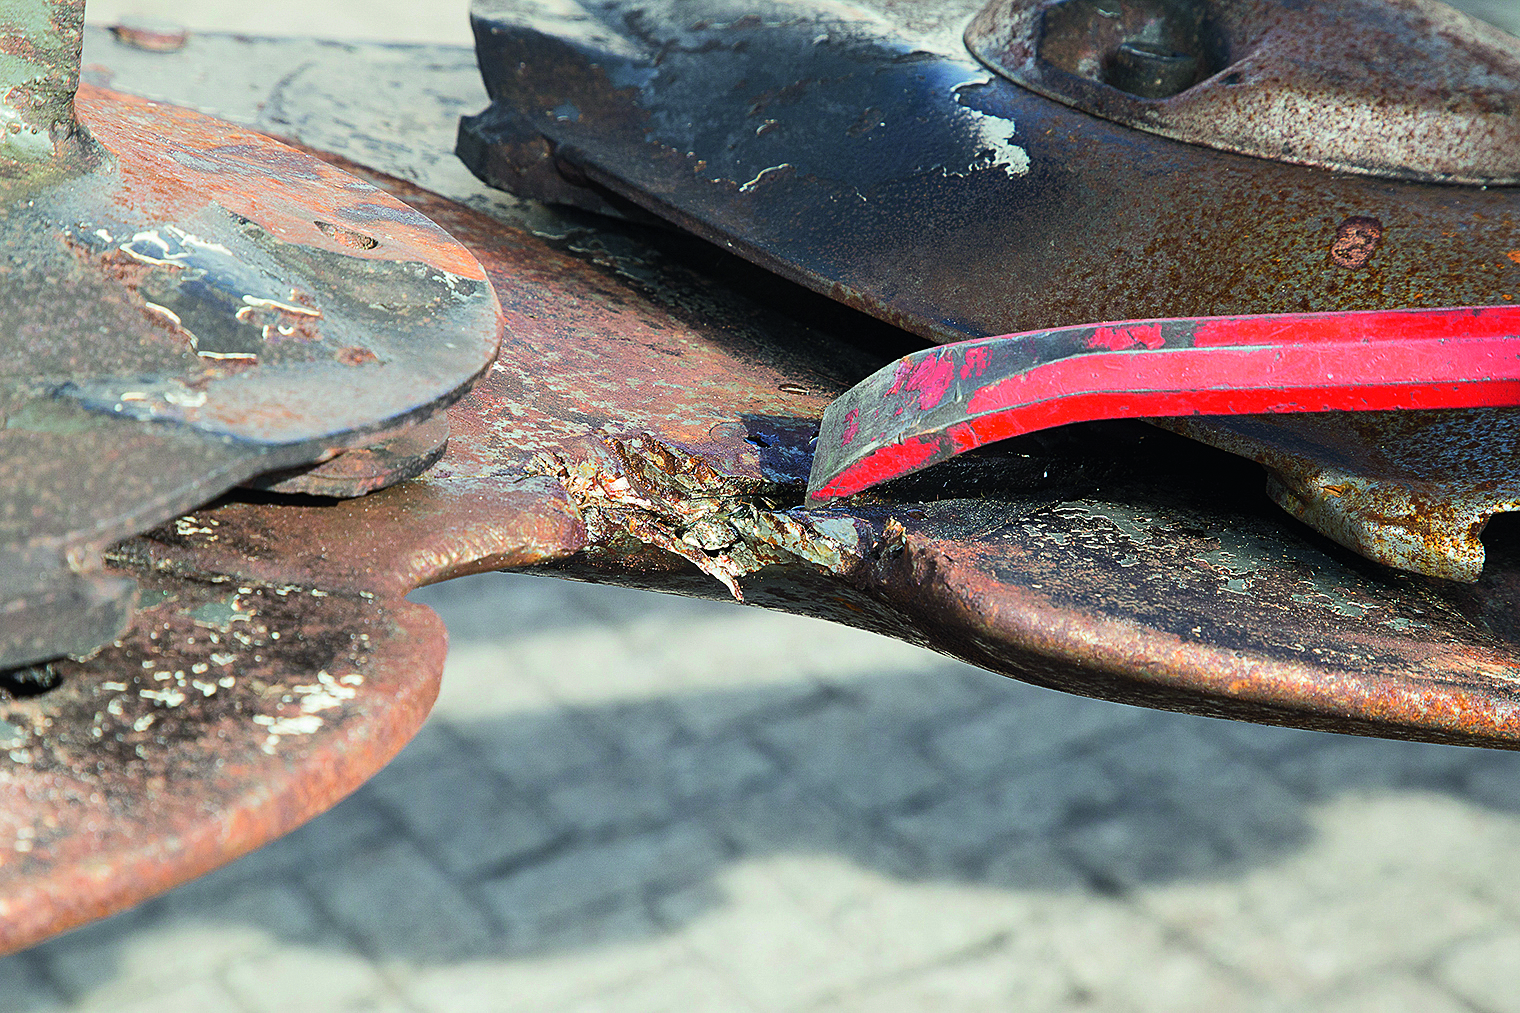
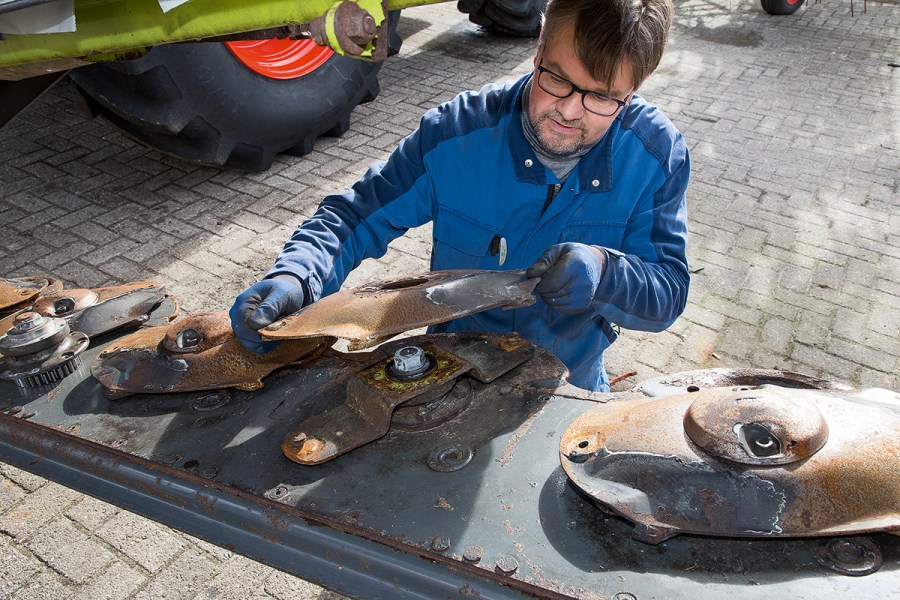
Inspect the mower bed for leaks. Cracks or break-outs in the oil pan or lid that may be as a result of major damage often caused by collisions with foreign objects. This top cover has been damaged around the seam. The only remedy here is to replace the cover and the skid.
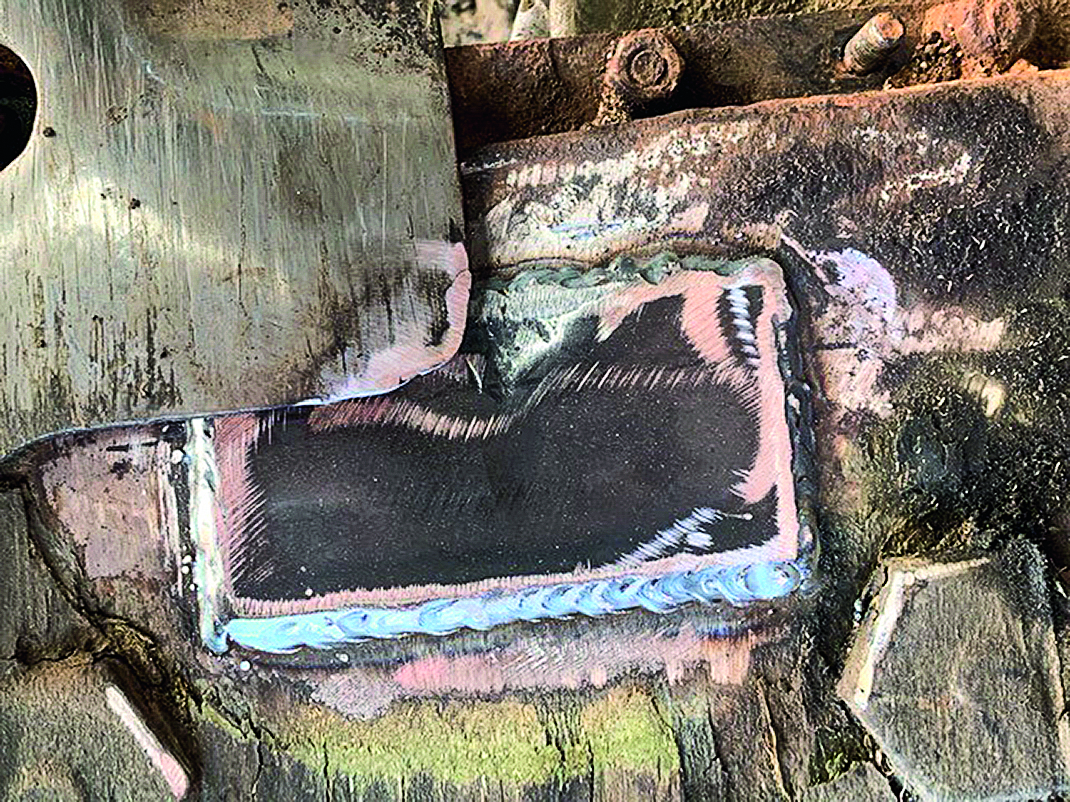
By comparison, there’s a leak from a surface crack, e.g. on the underside of the trough, you can attempt a repair. Cut some sheet steel to size so that you can weld it around the crack. Minor leaks from disc spindles are cured by replacing the seals.
Skids
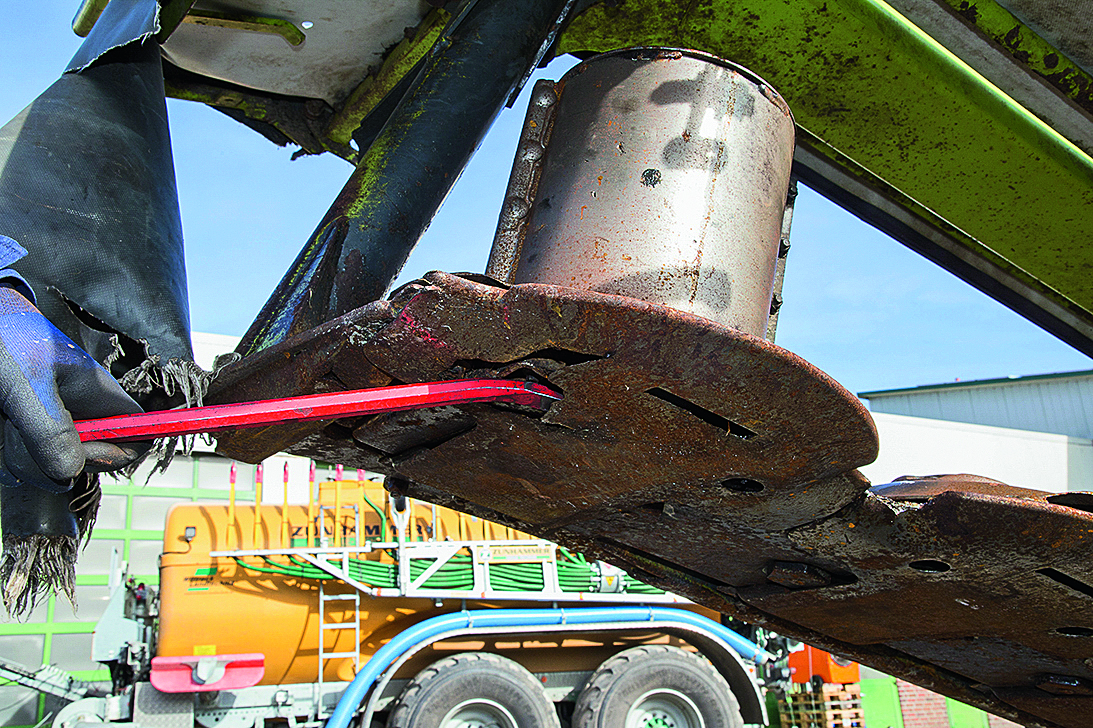
These skids are beyond redemption. They need replacing. Some manufacturers like Claas offer replacement skids that are bolted centrally onto the original runners. Uniform wear on all skids is a good sign showing that the mower has been set-up and run correctly with the right ground- pressure.
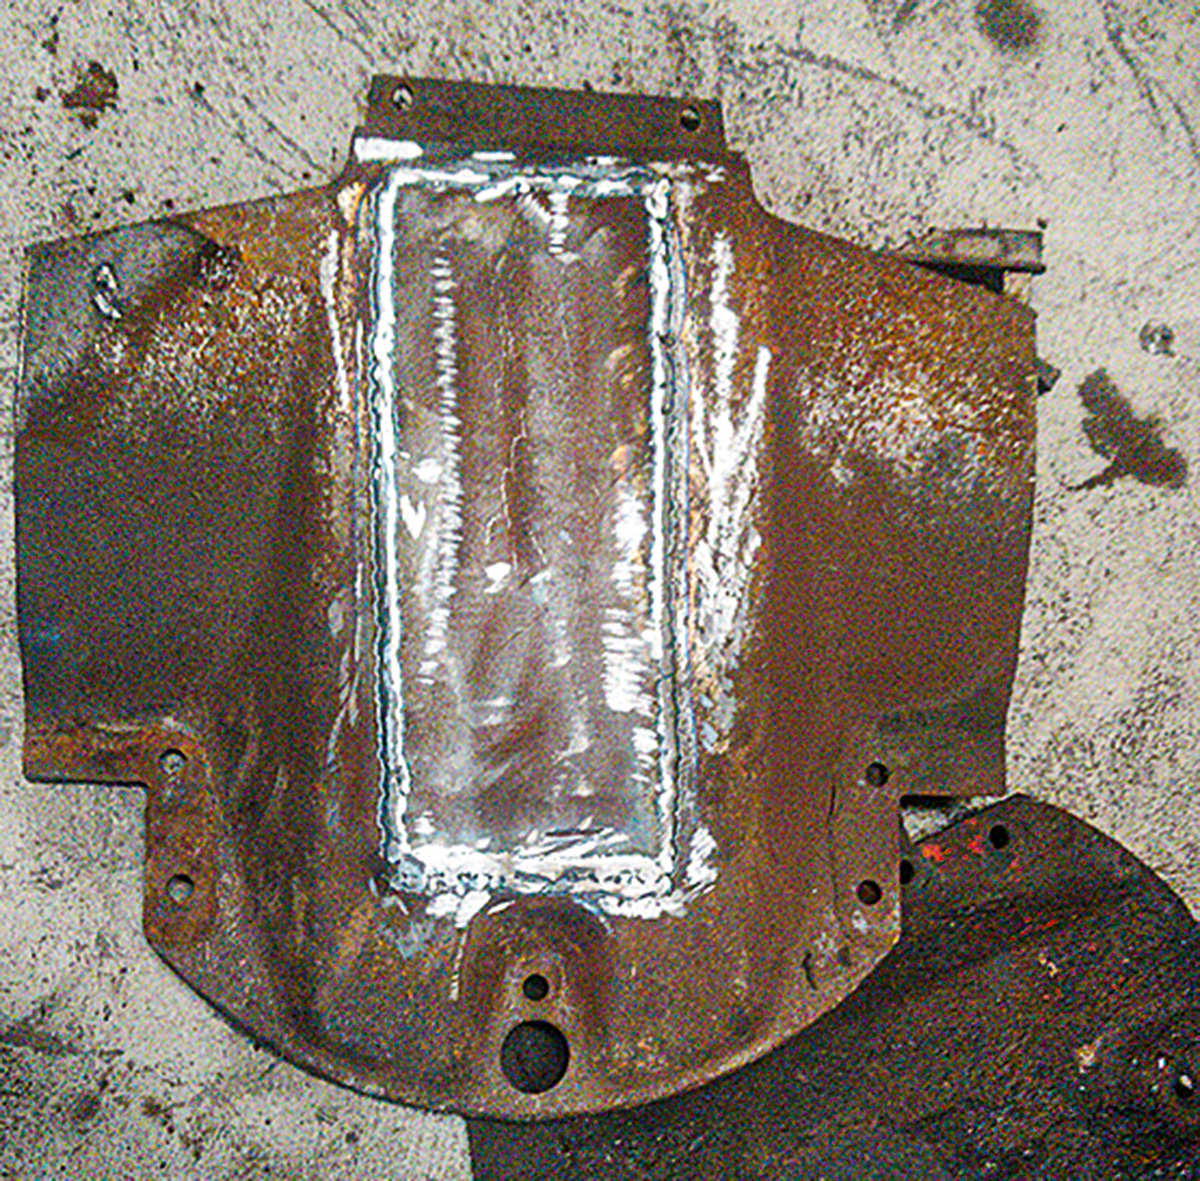
If the mower only gets occasional use it’s possible to give the skids a second life. For this purpose, use sheet metal that is no thicker than the skid and that is large enough to cover the worn area. Clamp it in place and weld it all round, making sure the electric glue is applied only in those areas that still have the original thickness.
Discs and blade holders
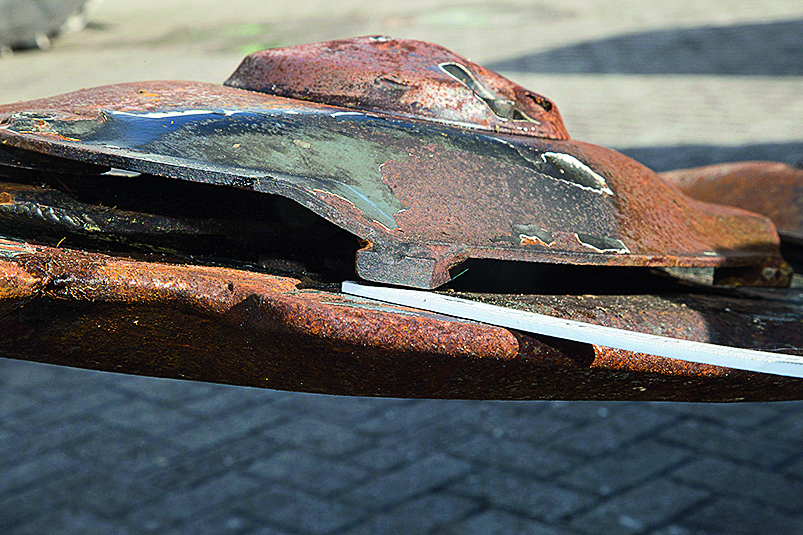
Foreign bodies can deform the discs. Check whether they are still firmly attached and that the distance to the cutter bar is identical all the way around. Also look for signs of scarring and scuffing on the bed top cover. If a blade is dragging, its holder or the disc will probably be distorted.
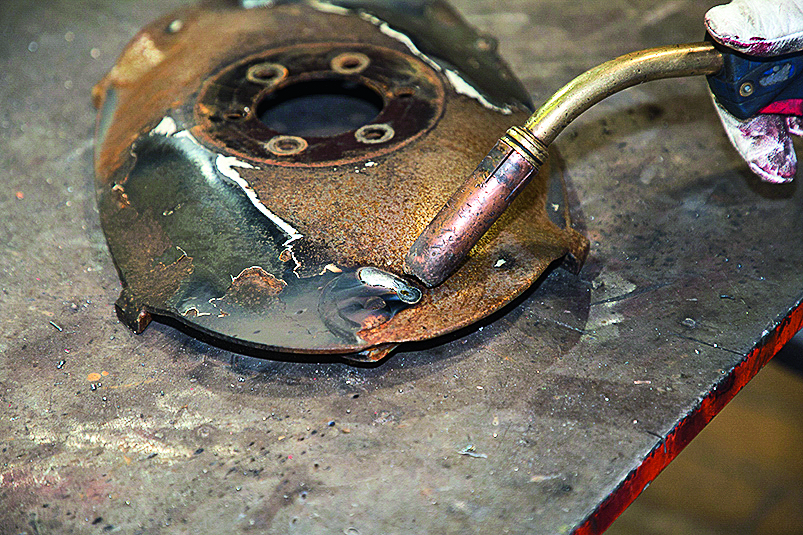
With the discs removed, it’s possible to make a judgement call about whether they’re worth repairing or replacing. It there’s still a sufficient thickness of steel the thin areas can be patched with an all-round weld. But be careful to carry out the repair using similar amounts of metal on both sides to avoid an imbalance of the disc. A repair is particularly useful on mowers with bolted blades or blade holders because it protects the bolt head.
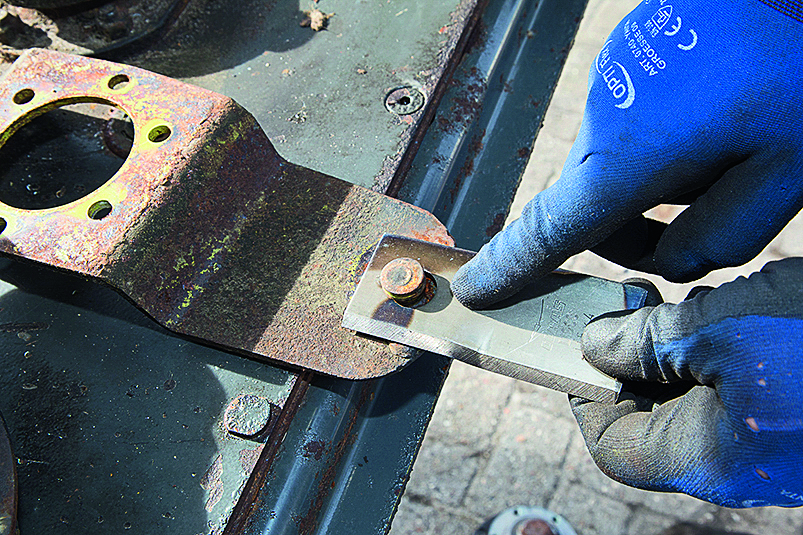
Are the blade holders still straight and do the pins engage in the recesses under the disc? If the clearance between the spindle that holds the blade and the blade itself is larger than 4mm, then the blade is worn and needs replacing. Also inspect the cutting edges. If these are rounded on both ends, replacement is necessary. If only one end is worn, swap the blades on the counter-rotating discs.
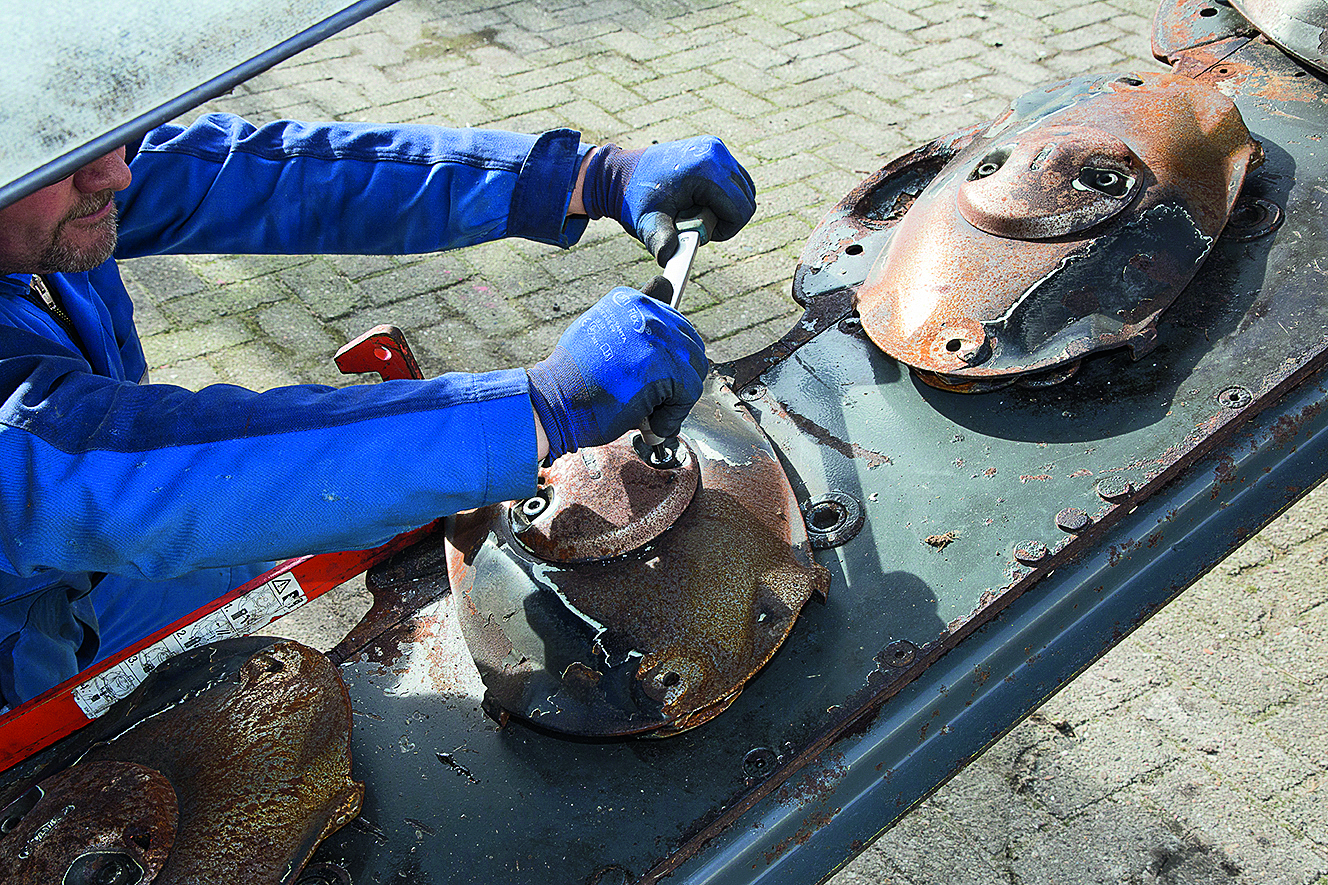
If the edges of the discs still look good and not wafer-thin, you can swap the inner discs to change their direction of rotation. This can almost double the service life of a disc because wear is distributed evenly on both sides.
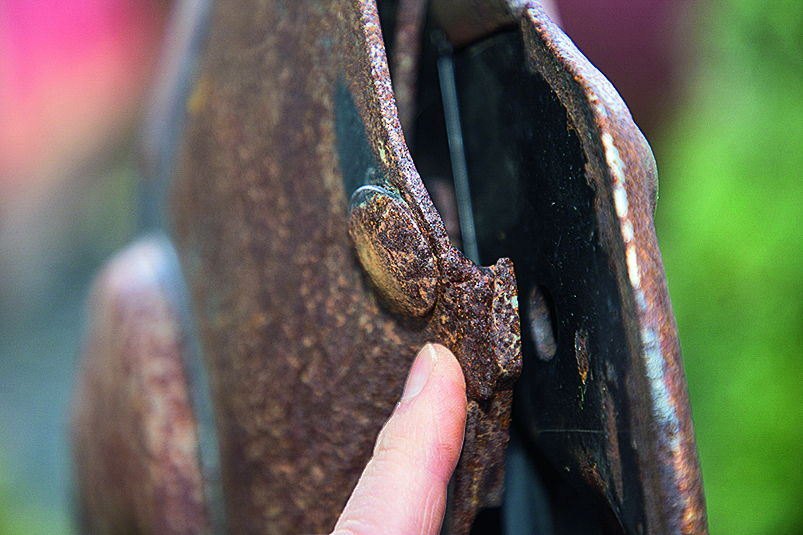
This Claas mower disc has a ‘sacrificial’ rivet on the bulge that is exposed to wear. Before the mower disc wears itself out at this point, the head of the rivet ‘sacrifices itself’. This must also be regularly inspected for wear.
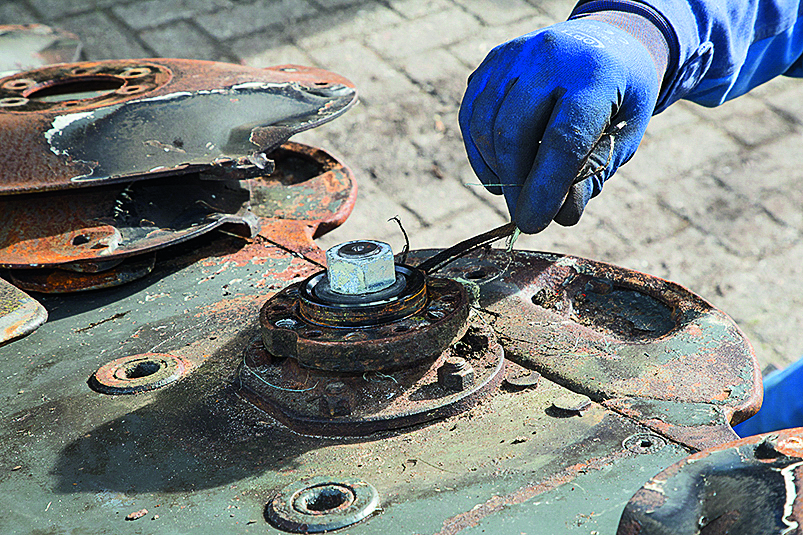
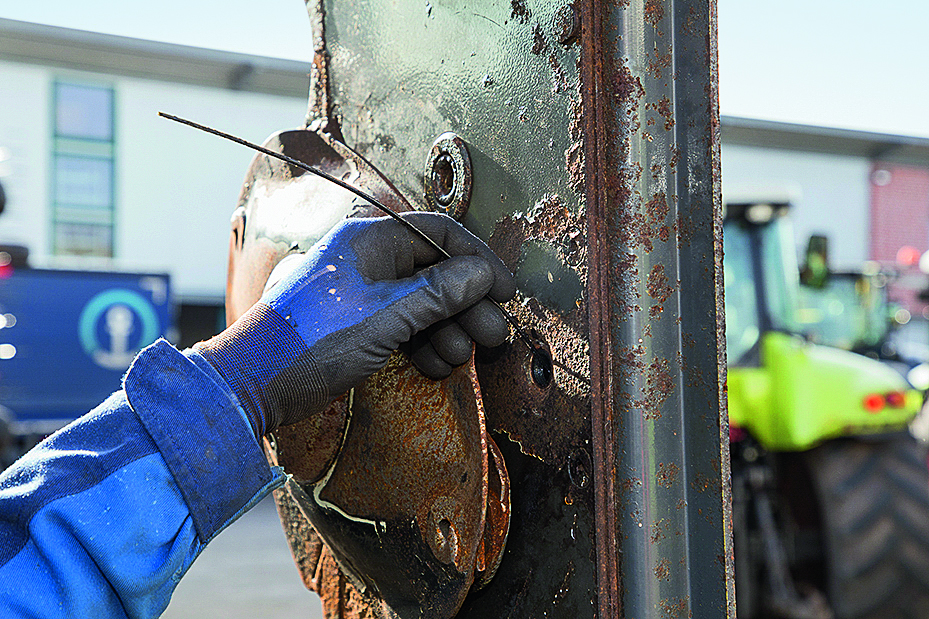
The enemy of the disc mower is fence wire. The best way to remove it is to remove the mower disc first.
Drives and gearboxes

Check all universal joints for play and grease them. Do not forget the bed drive: Depending on the model, there are also grease nipples here which are often forgotten.
Any worn universal joint can be repaired quite easily, as described in profi 1/2008 workshop article which can also be found in the online test centre by searching ‘pto’.
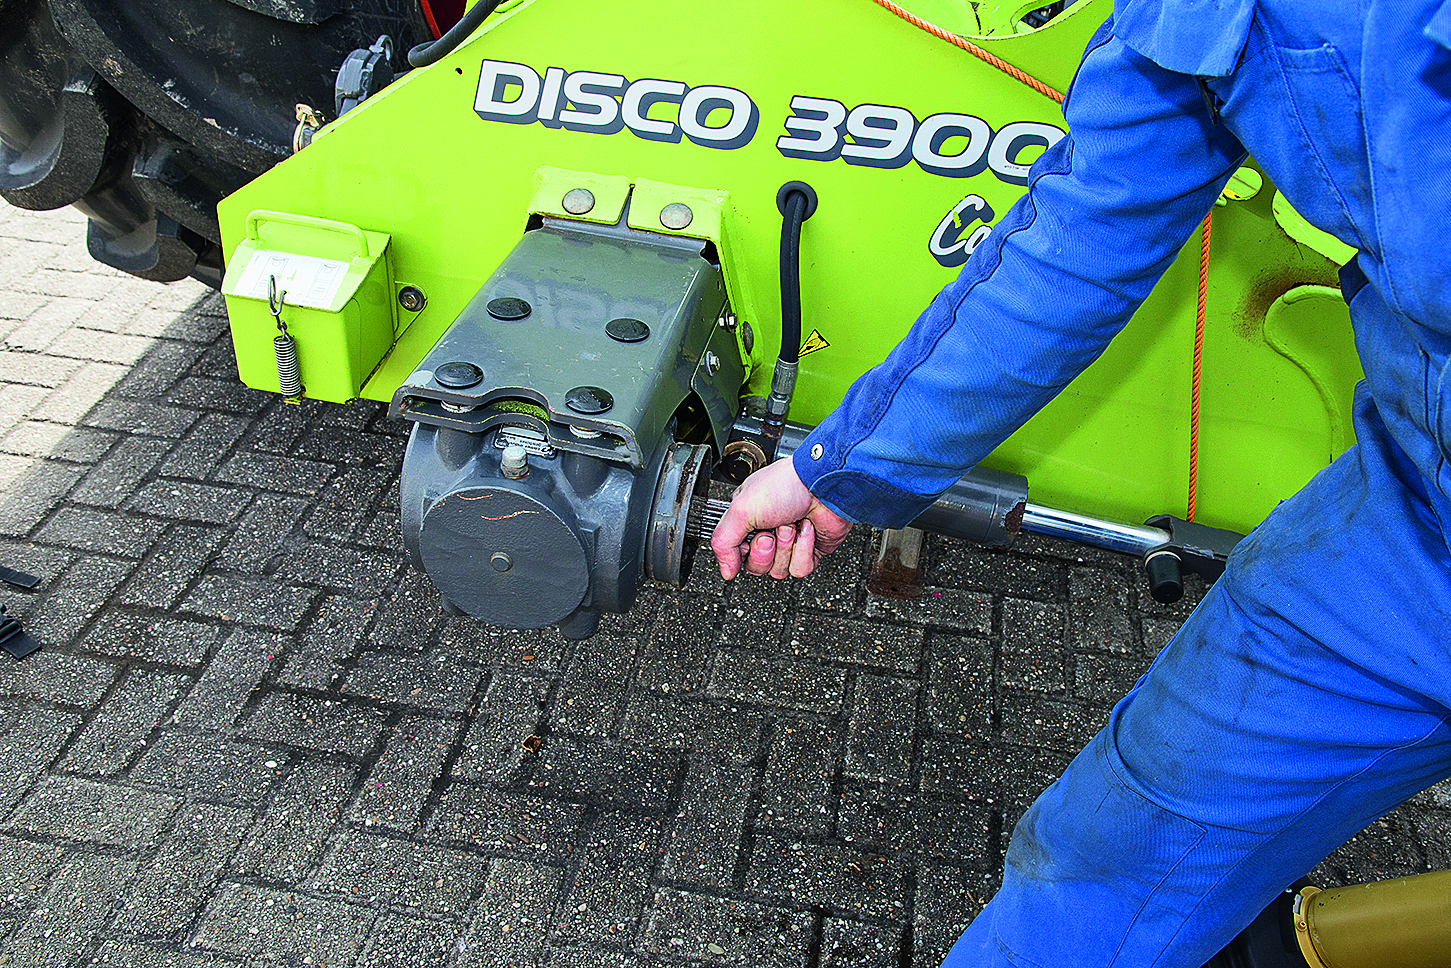
Check the right-angle gearboxes for play. To do this, wobble the end of the shaft. Some slack is normal but if it moves significantly it’s likely an overhaul is going to be required. If you spot damage to the shafts or swarf and filings in the oil, budget for a replacement box.
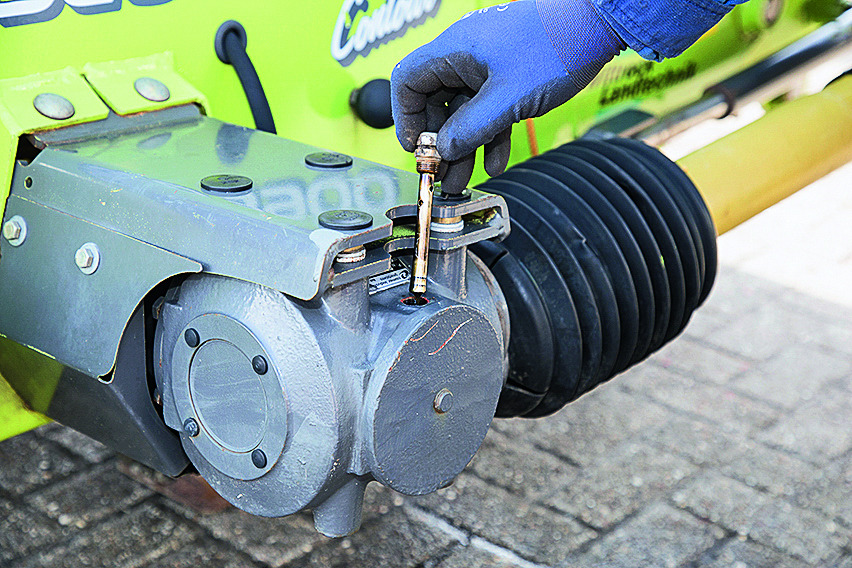
A good supply of oil to the gears and the mower bed is crucial for a long service life. Generally, the average 3.0m trough will swallow up to 3-4 litres of oil. High acreages call for an annual oil change to avoid oil particles separating as a result of heat build-up in long-term use. The well- trained ear can detect a high-pitched whine when the mower is up and running on full- song. That can suggest a lack of lubrication.
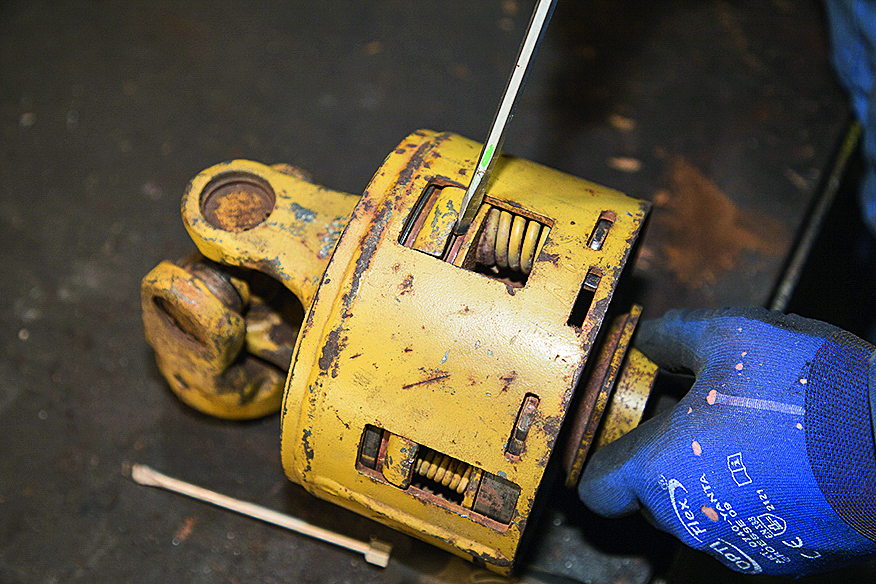
Slacken off the slip clutch before the machine is stored for long periods of time. This is done by tightening the screws on the front end. Before the first-cut, check from the side that the pads move freely and that the clutch turns. Only after that undo the screws. The trip-out torque can be verified in a professional workshop that operates a special test bench for this.
On folding mowers, you can check the oil level when the bed is vertical by opening a level plug in the top-cover. Alternatively, when the mower is lowered to its horizontal position on level ground dip the trough – there should be about 1cm of oil on the stick. Obviously, this will vary between makes and models – refer to the instructions if it’s not immediately obvious.
Swathing discs and conditioners
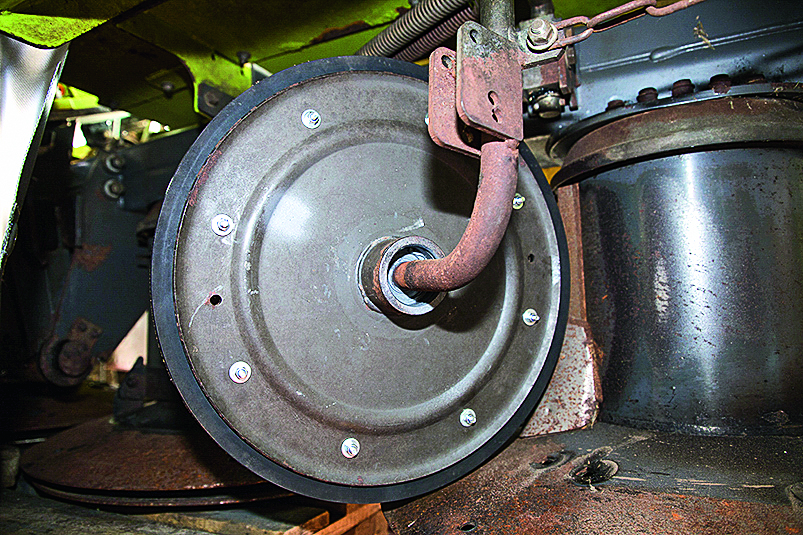
If the swathing discs on the mower no longer rotate properly, crop flow through the machine will be uneven and will result in lumpy swaths. Replacing the disc bearings will remedy this. And if necessary, screw on a new rubber dish at the same time.
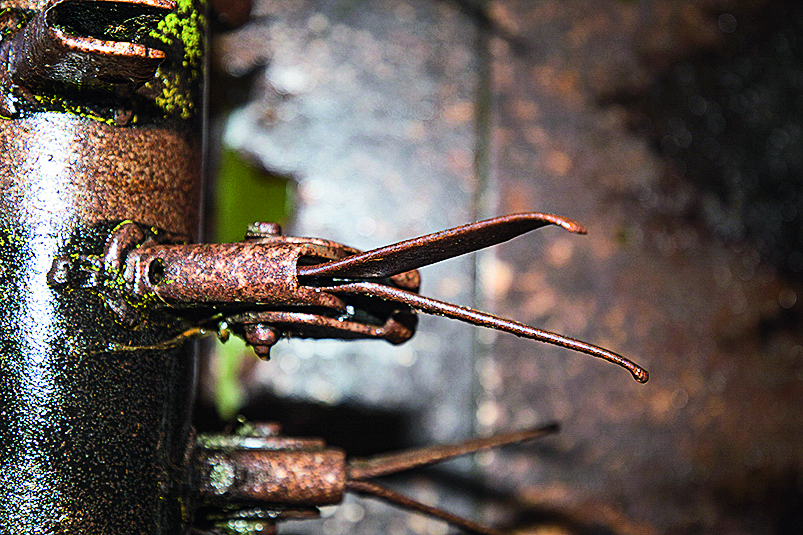
If the conditioner flails are pointed or even bent, they’re going to need replacing. If only worn on one side it is possible to switch them round and continue using them. Also look for damage and holes in the rotor. If necessary, patch weld it to prevent material working its way in.
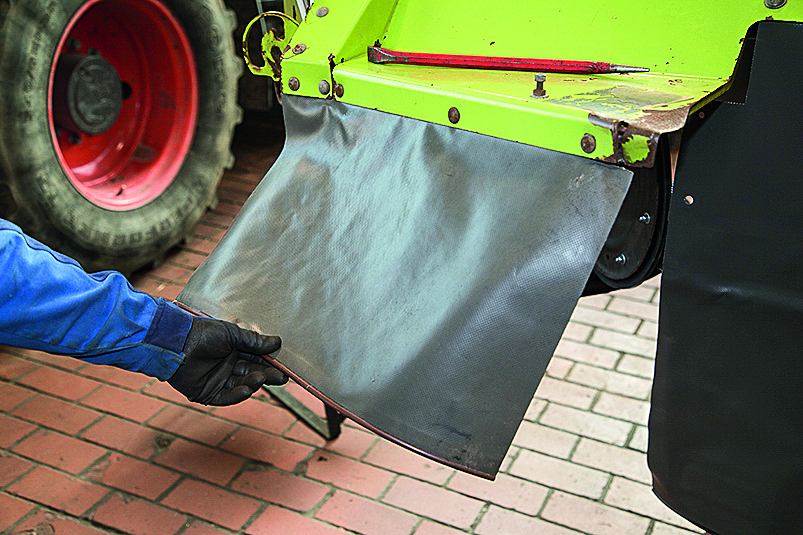
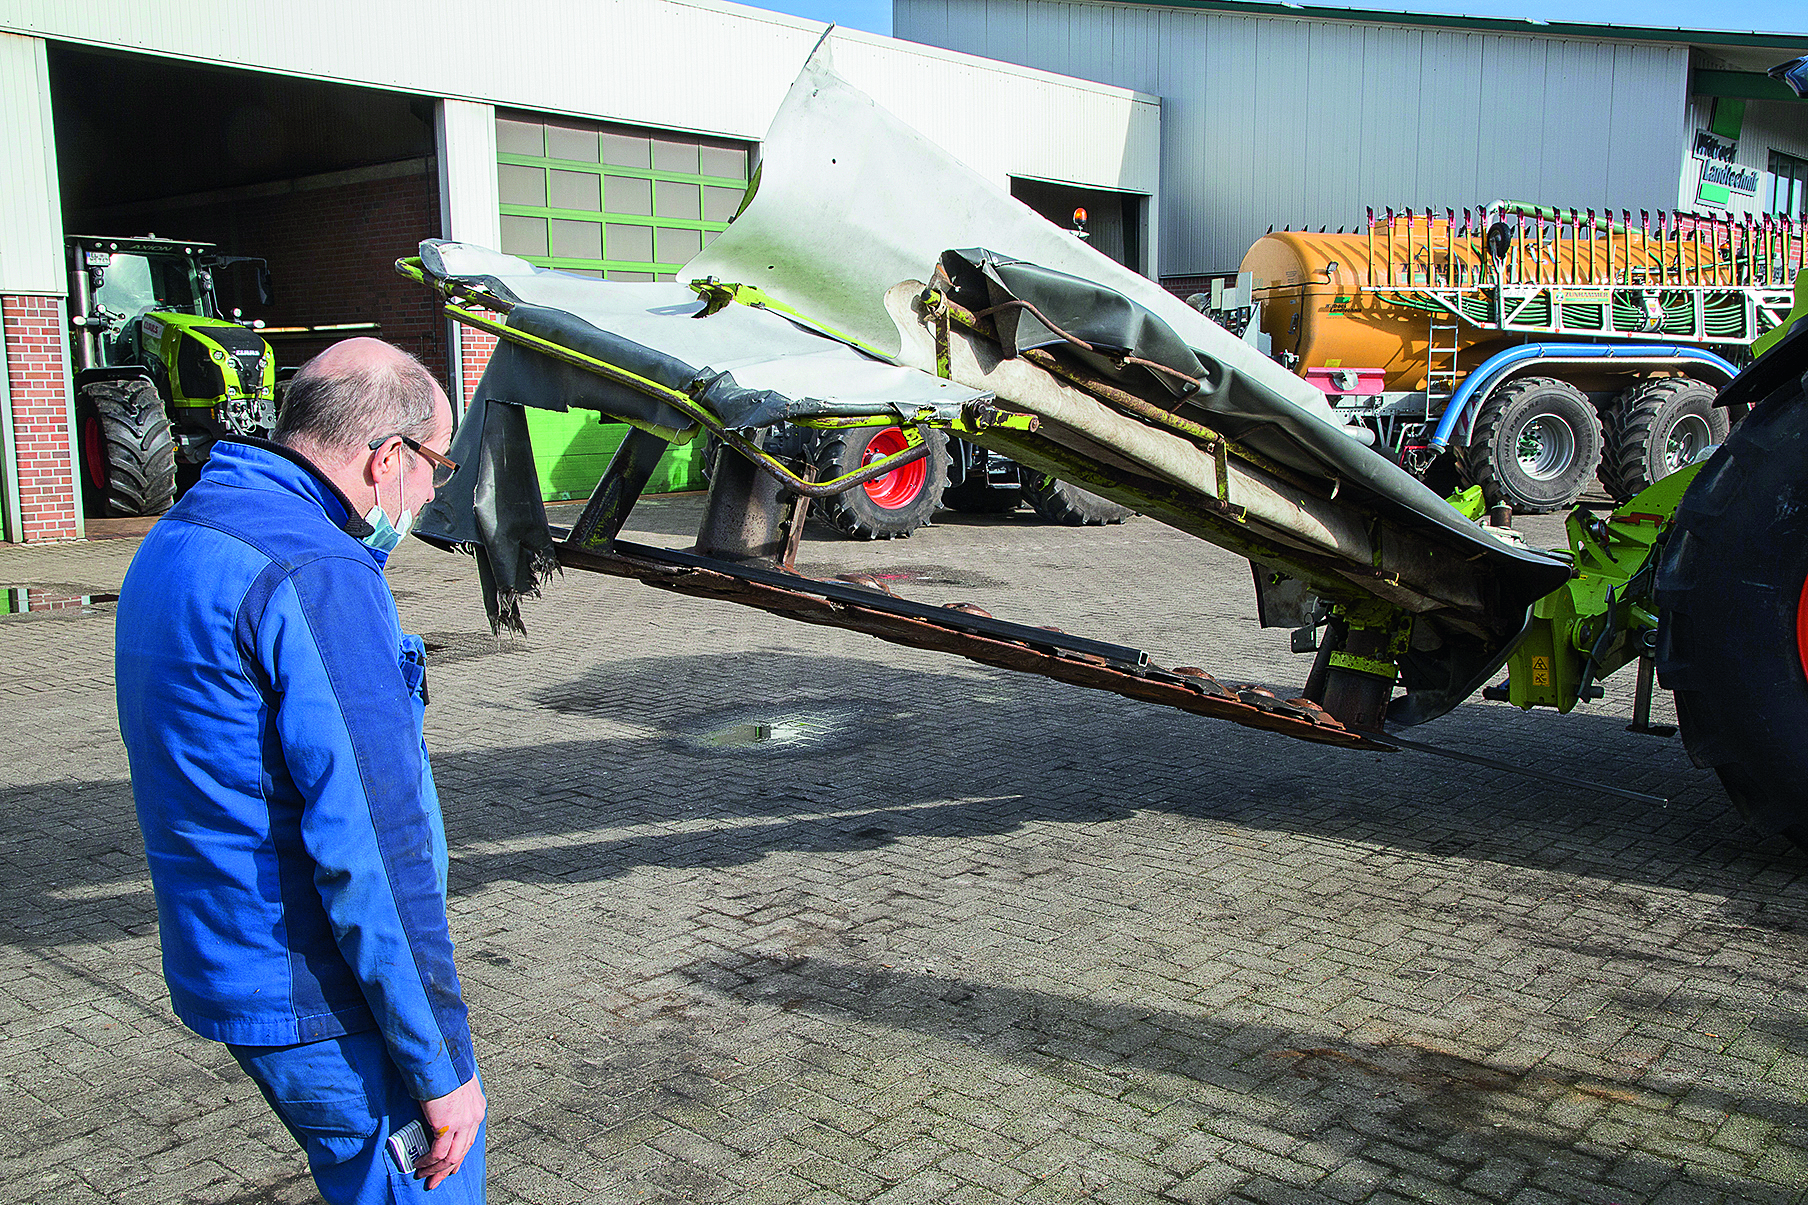
The curtain guards are often neglected. Small holes can be patched inexpensively – we will look at this in a future issue. If you have to replace lost or severely damaged skirts, you can buy the tarp in metre lengths. Available in various widths, expect to pay around £9-10 per linear meter.
This article was taken from the 01/2022 issue of profi. For more up-to-date farming news and reviews click here and subscribe now to profi and save 47%.

